How to show post content in Modal Popup Box?
PowerPack v2.21.0 introduces a feature that you can use to link the Modal Box in Content Grid or any posts module that supports Beaver Themer’s Custom Layout feature. It allows you to display the post content in modal popup.
Let’s see how to connect the Modal Box with Content Grid and show the post elements in the popup box.
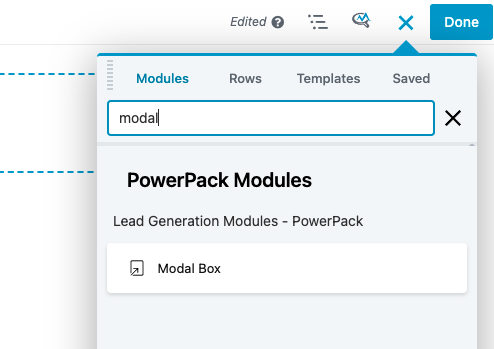
Add Modal Box to the page
Configure the Modal Box
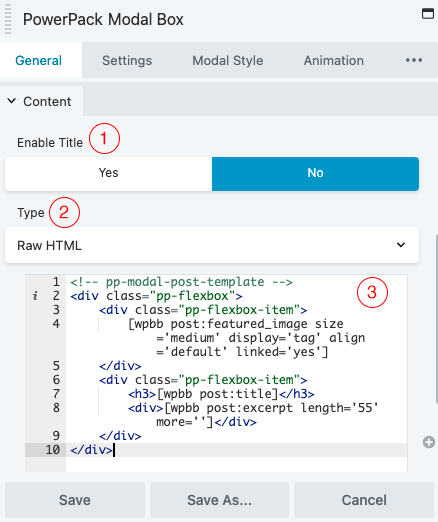
General tab > Content
- Set the “Enable Title” to “No”
- Set the “Type” to “Raw HTML”
- Add HTML comment
<!-- pp-modal-post-template -->into the HTML field. Please note that it is important to add this HTML comment to recognize the template. - Add your own HTML and build the template. You can click on the field connection “+” icon and insert the shortcodes related to the post into the HTML field. These field connections will only appear if you have the Beaver Themer plugin installed and active.
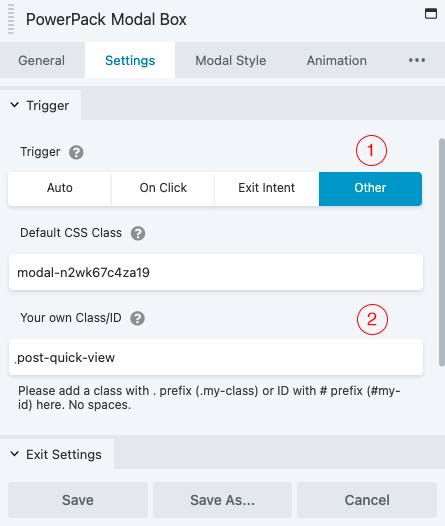
Settings tab > Trigger
- Set the “Trigger” to “Custom Element Click”
- Add a class to the field “Your own Class/ID”. We are using the “post-quick-view” class in this example. Please note you must prefix your class with a dot “.” and do not add the ID.
- Save the module.
That’s it. We have configured the Modal Box, keep it on the page and now let’s configure the Content Grid module.
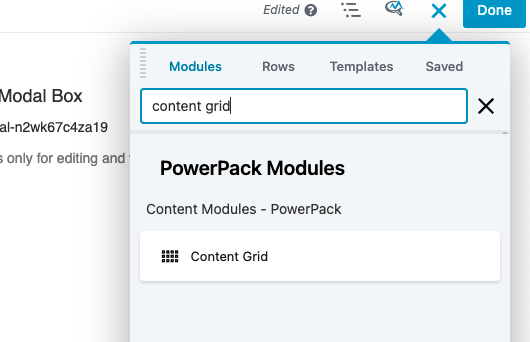
Add Content Grid to the page
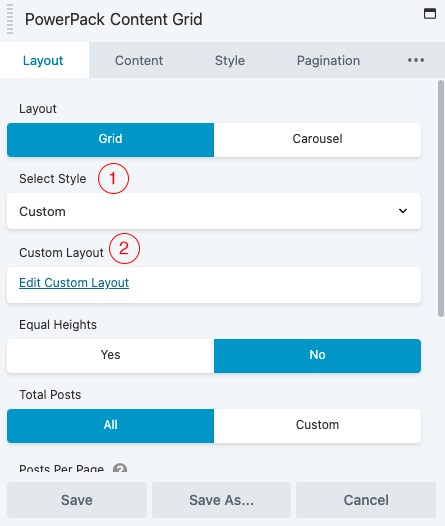
Configure the Content Grid module
- Select the “Custom” style from the dropdown
- Now click on “Edit Custom Layout”
Edit Custom Layout
Add the class “post-quick-view” that was provided in the Modal Box to the anchor tag of the “Read More” button in the custom layout’s HTML.
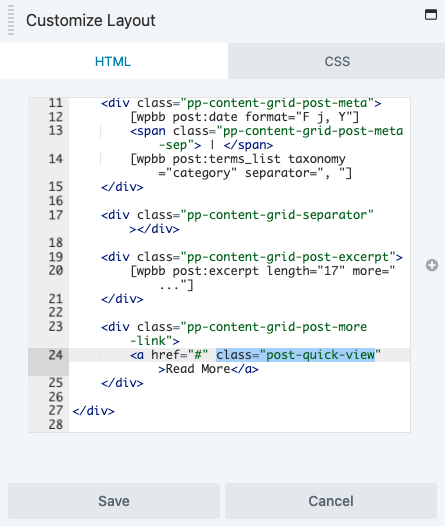
Tip: If you are using the regular Posts module or any other posts module then you must add another attribute to the anchor tag i.e. data-pp-modal-post=[ wpbb post:id ]
Please remove the space inside the shortcode brackets after copy/paste from here.
Now, save everything and just publish the page. After publishing the page, do a refresh and click on the “Read More” link of the post.
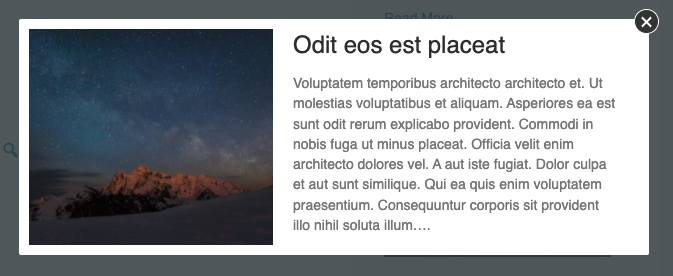
You can further style the post elements in the Modal Box within the “CSS” section under Beaver Builder’s Layout settings or Global settings.