Conditions to take care of when using Custom CSS
Some custom requirements or fixes may require custom CSS to get the desired results. In such cases using a Custom CSS is very easy but there are two conditions that you may need to take into account.
1st Condition
Do you wish to apply the styling to the specific instance of the module? If yes, then we either add a fl-node class at the start of the CSS selector or add our own custom CSS class in the Advanced tab of the module.

You can Inspect the page to get the fl-node-xxxxxx as seen in the screenshot.
This fl-node class is just a normal CSS class that targets the specific instance of the module. The fl-node class will look something like this with numbers after the “fl-node-” .fl-node-61120e9526a54.
For example:
.fl-node-61120e9526a54 .pp-module-class {
color: #000;
font-size: 18px;
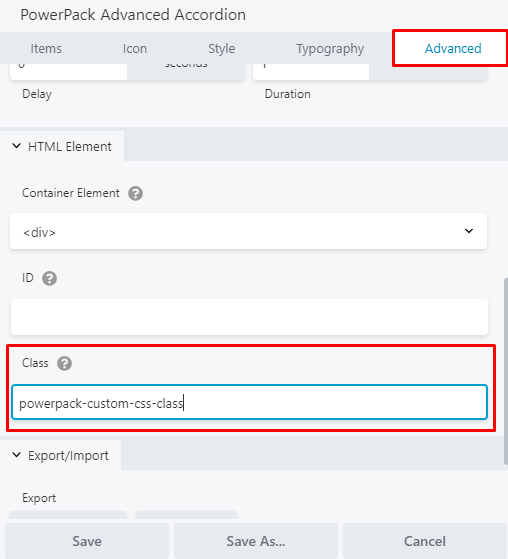
}Similarly, you can also add a custom CSS class in the Advanced Tab of the module’s settings. For example, in the screenshot, I have used powerpack-custom-css-class as the class name.
An example for such a custom CSS with the custom CSS class that targets the specific instance of the module would be:
.powerpack-custom-css-class .pp-module-class {
   color: #000;
   font-size: 18px;
}
2nd Condition
If you wish to apply the CSS to all the instances of the module then you can simply skip the fl-node class and use the CSS that targets the module’s CSS selectors for your requirement. So this way all the modules will get affected because all the similar modules have the same HTML and CSS.
For Example:
.pp-module-class {
   color: #000;
   font-size: 18px;
}
I hope this helps clear any confusion and you can easily add custom CSS as per your requirements.