How to get the API Key for Google Maps Module?
Google Maps makes life easier, and PowerPack loves to make it easy for you to set it up. The first step to setting the Maps Module is to obtain the API Key from Google. Please follow the following steps to get the API.
STEP 1: Go to the https://console.cloud.google.com/ and login or register if you’re using it for the first time using your Google Account.
STEP 2: Once logged in, you’ll have to set up the Billing Account as Google has made it mandatory to have an active billing account to use the Maps API. To set up your billing account, click the hamburger icon on the top left and select Billing or open this link https://console.cloud.google.com/billing/.
Google now provides $200 free credits to use its services and will only charge if all the credits are exhausted. PowerPack uses the Maps JavaScript API, which has the following amount of free credits available to it.
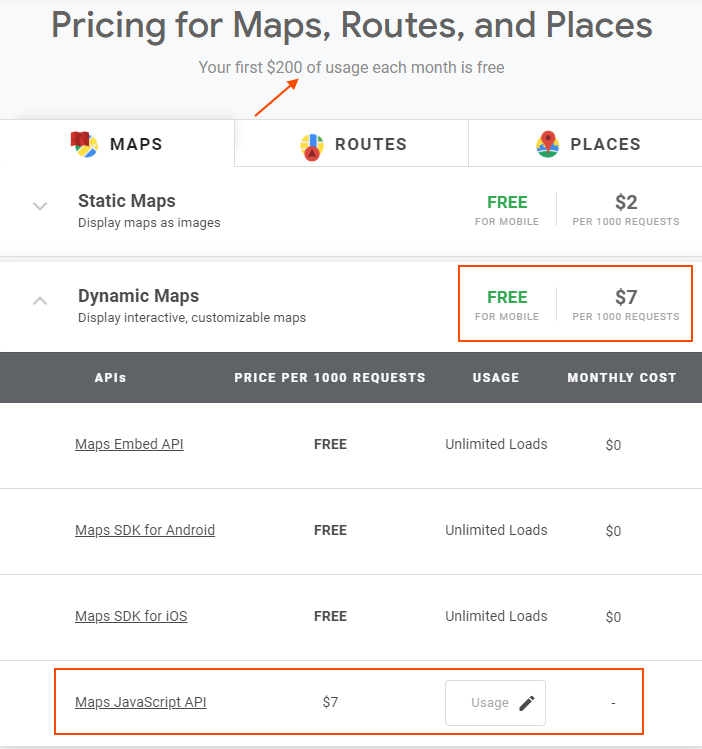
You can check more details about Google’s Pricing Plans here.
STEP 3: After successfully setting up the Billing Account, the next step is to obtain the API Key by following the steps mentioned on the following page https://developers.google.com/maps/documentation/javascript/get-api-key
STEP 4: After you’ve generated the API Key, the next step is to restrict it. Google has now made it mandatory to restrict the API Key for Maps to work. The restriction makes it easier to protect the Maps API from being misused.
Follow the steps mentioned in the following section to restrict the API key https://developers.google.com/maps/documentation/javascript/get-api-key#restrict_key.
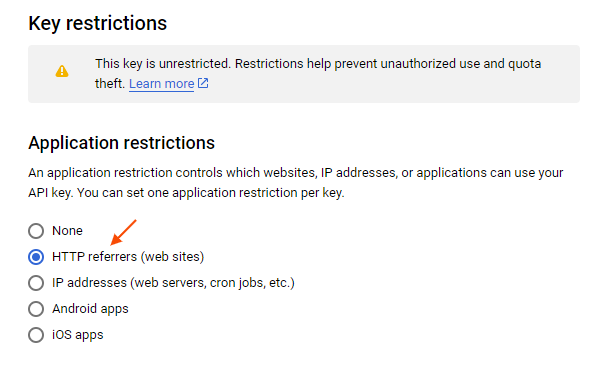
STEP 5: Once you’re on the Restriction Page, it is very important to set the right kind of restriction so that you can use the Maps without any issues.
1. Select the HTTP Referrers from the list to restrict the usage of the websites.
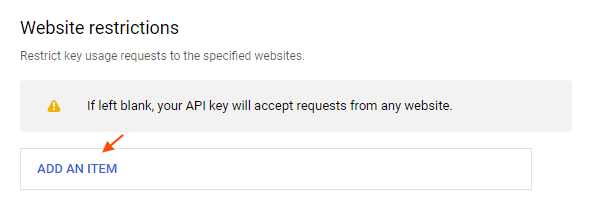
2. The next step provides the option to restrict the API key for only the added sites. If you want to use the same API key on multiple sites, they leave it as it is.
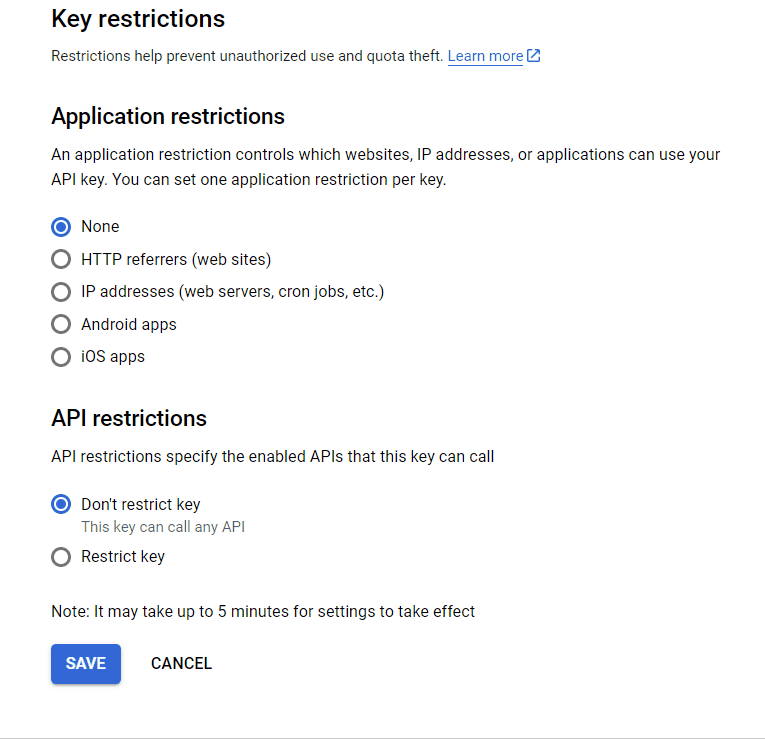
3. In the next step, select the Map JavaScript API and Places API from the restrictions list and click Save to complete the setup.
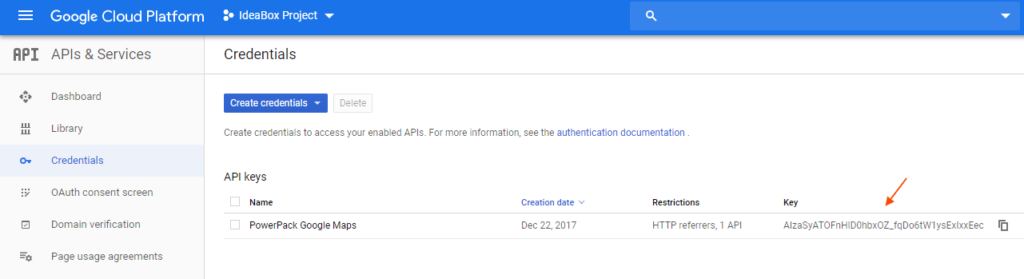
STEP 6: The setup is now complete, and it is time to copy the API key and set up the PowerPack Google Maps Module.
STEP 7: Let’s set up the Google Maps Module for PowerPack for Beaver Builder. Click here to check the documentation.