How to set up PowerPack’s Instagram Feed module with Beaver Builder?
PowerPack Beaver Addons Instagram Feed allows you to fetch the Instagram photos from your Instagram account and show them on your website. You can set it up in a few simple steps, but before we start, let us learn a few things.
This works with Instagram Business/Creator accounts. Personal accounts are no longer supported by Instagram API. This method requires you to create Instagram Access Token. Instagram Access Token is required to prove that you’re the owner of your account and you allow the use of photos and content on your site.
- The following tutorial will work only for the updated Instagram Module added in PowerPack Pro v2.14 and above.
- The Instagram profile should be a public profile.
Now, let us understand how you can create Instagram Access Token and display images from Instagram on your site.
Create Instagram Access Token
Step 1: Create an App
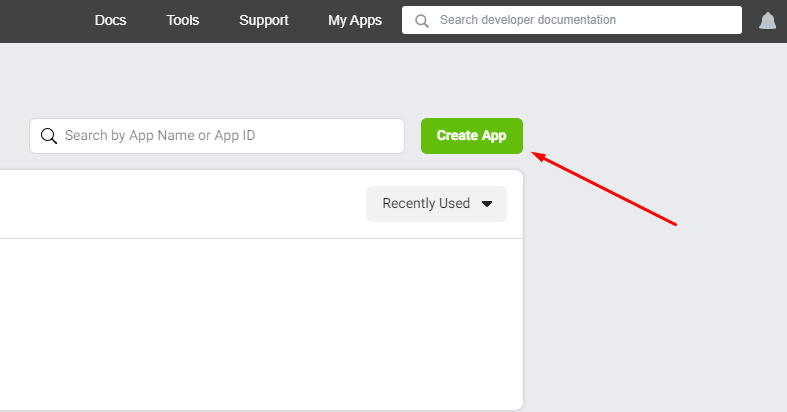
- Head over to https://developers.facebook.com/ and click on “My Apps“ located at the top right corner.

- Next, click on “Create App”.
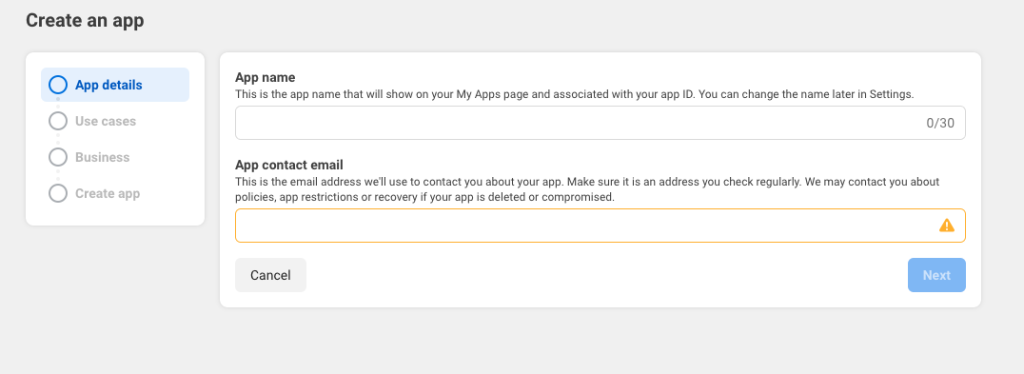
- On the next screen, provide App Name, App contact email and click Next.
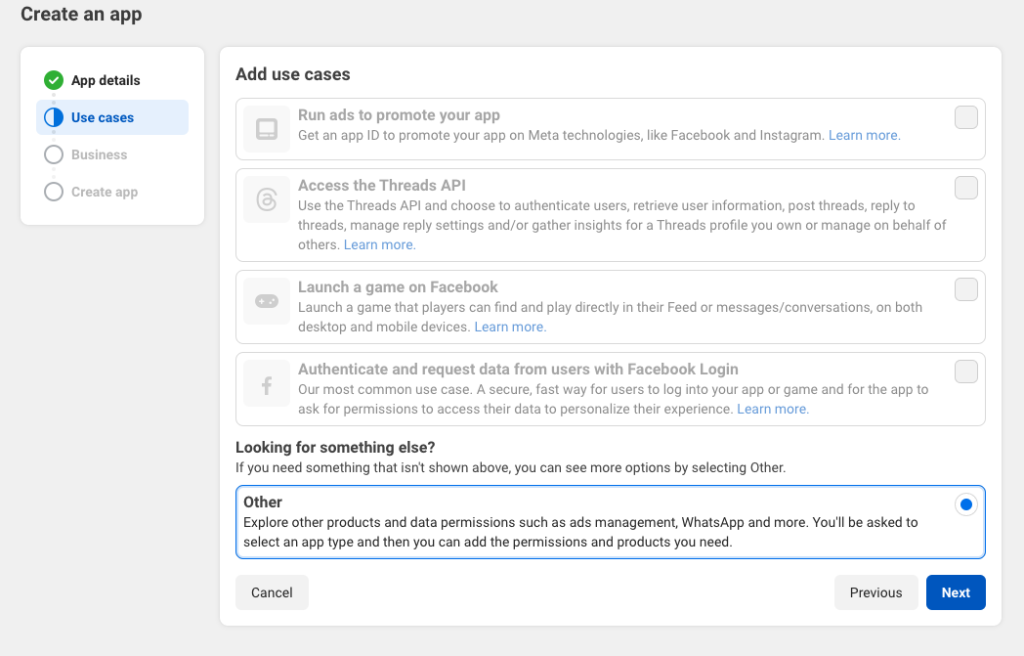
- Now, a window will appear here asking the use cases for the new app that you’re going to create.
Simply select Other and click Next
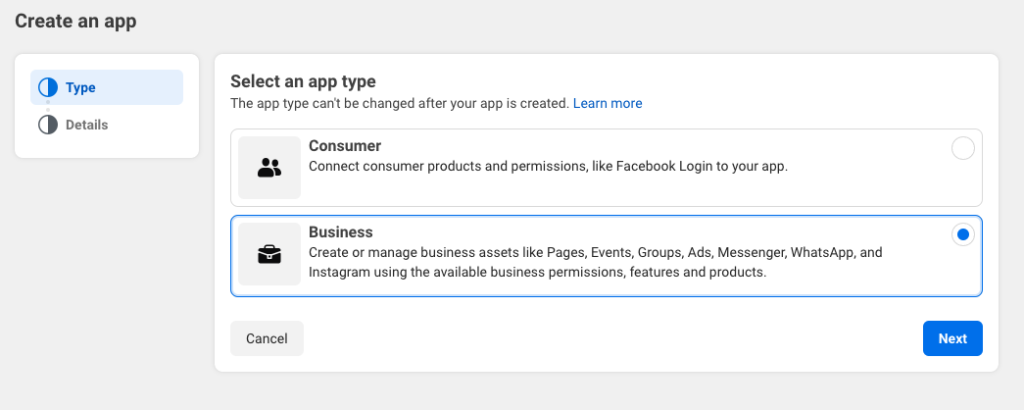
- In the next window, select Business and then click Next
- Review the name and email on the next screen and click Create app

Step 2: Setup Instagram App
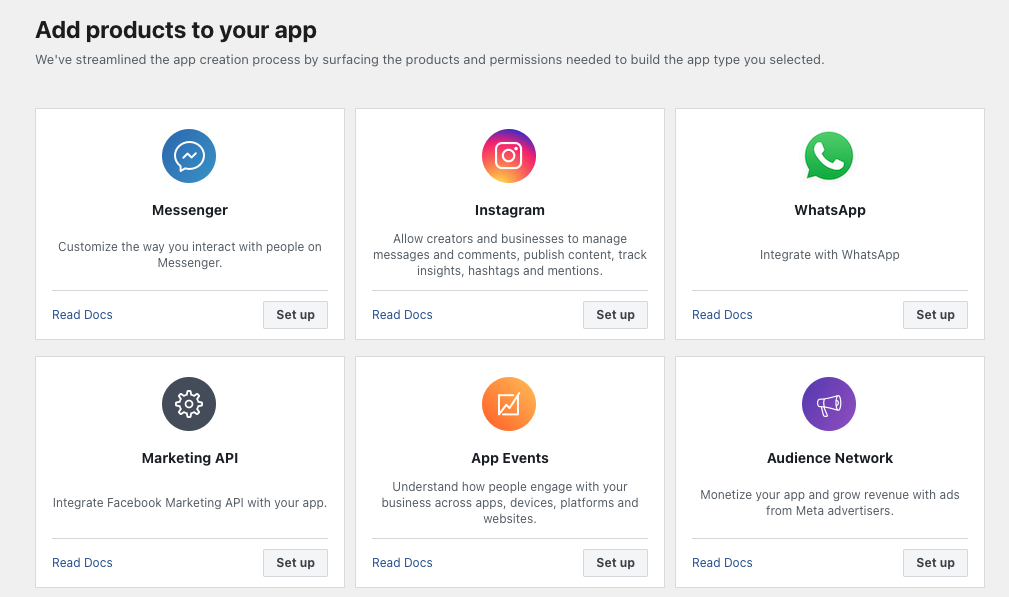
- Once you have completed all the previous steps, a list of apps will appear. Choose Instagram from the list and click Set up.
- Now, some detailed information will show up as API setup with Instagram business login. You will notice the Instagram app name (maybe suffixed with “IG”), Instagram app ID and app secret.
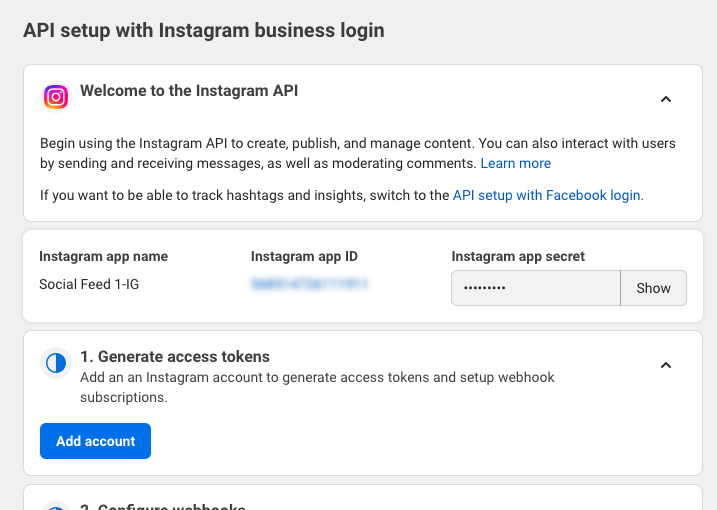
Step 3: Generate Token
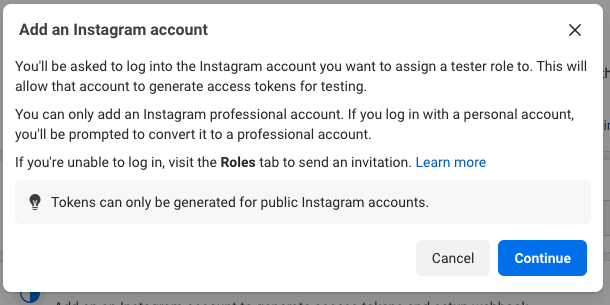
- Here, we need to Generate the access token. So click the Add account button under the “Generate access tokens” section.
- Next, a popup will appear; click Continue
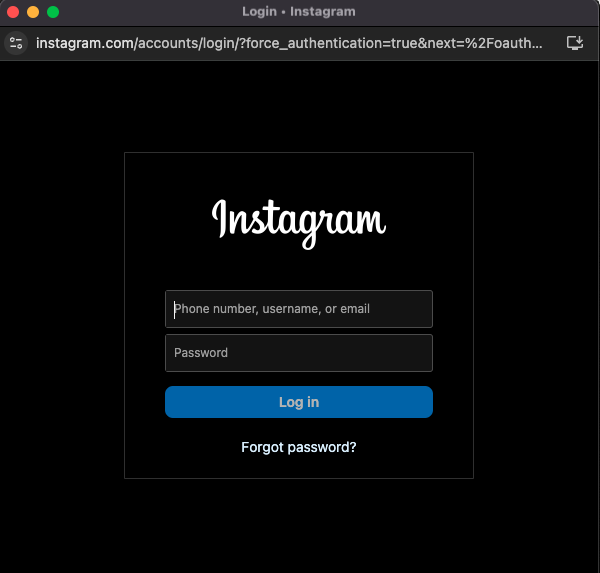
- A window will open asking you to login to Instagram account. In this step, you need to log in to the Instagram account from which the photos need to be displayed.
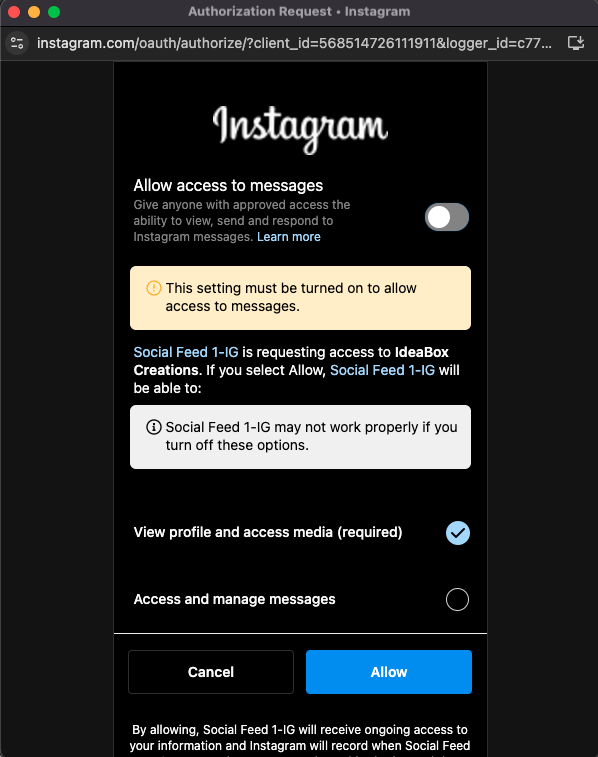
- Once you’ve successfully logged in to the Instagram account, you will be asked whether to Allow or cancel the newly created app access to the Instagram account. Make sure to turn off “Allow access to messages” and “Access and manage messages” permissions. Keep “View profile and access media” permission enabled. Finally, Click Allow
- Once the Instagram account is connected, you will see the account details as shown below:
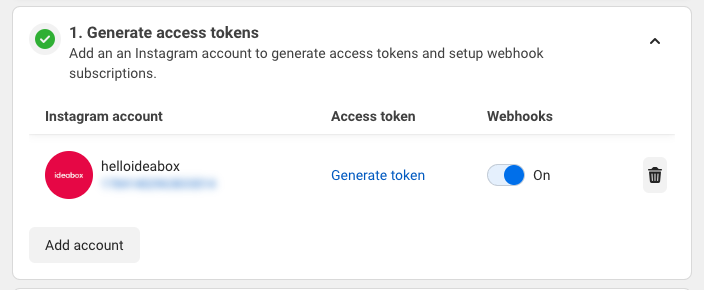
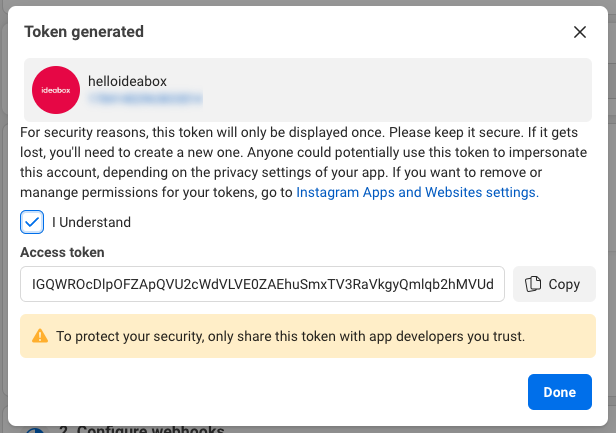
- The final step is to Generate the token. Click Generate token and a popup will appear with the token. Check the box “I Understand” and copy the token, click Done.
Again, before you click the Done button, make sure to copy the token.
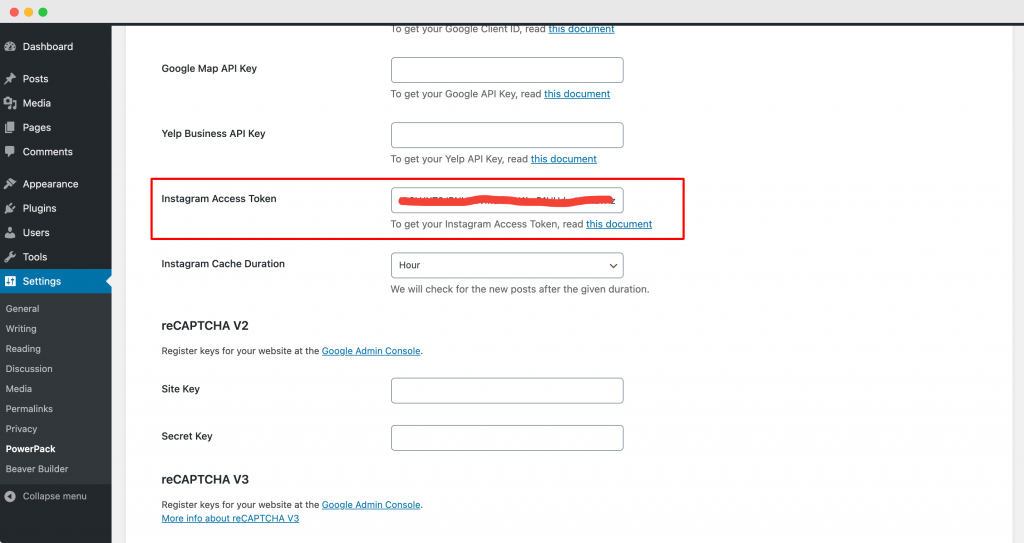
Add Instagram Access Token in PowerPack
Navigate to your site’s WP-admin > Settings > PowerPack > Integration and paste the access token in the “Instagram Access Token” field.
- Once you have done that, save the settings and go back to the page where you have added the Instagram Feed module.
- You’ll see that photos from your Instagram account will start appearing just fine!
- Finally, publish the page.
That’s it! 🙂
Troubleshoot
Sometimes, you get the “Developer role is not sufficient” error while connecting to the Instagram account for generating a token. In this case, follow the steps below:
- Go to App Roles > Roles.
- In the App Role section, click Add People.
- A popup will appear:
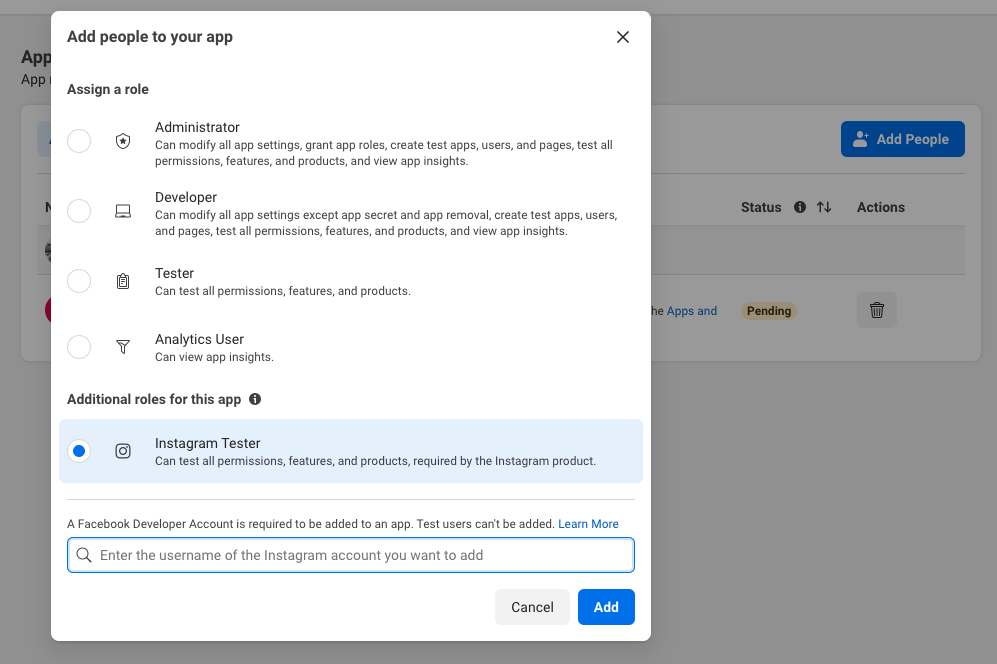
- Select Instagram Tester and enter the Instagram handle you want to connect to display the feed.
- Click Add.
- Visit Instagram Manage Access and open the Tester Invites tab.
- Accept the invitation from your app.
- If there are multiple requests, accept only the one with your app name.
- Return to your app in Facebook and go to Instagram > API Setup with Instagram Login from the left panel.
- Ensure the Generate Access Tokens section has a green check mark. Expand it and click Generate Token.
- You may be prompted to log in to Instagram again — you should now be able to log in successfully.
- Continue with the steps outlined in PowerPack’s Instagram Feed documentation.
This was all about setting up the Instagram Feed Module. Feel free to get in touch with us if you face any difficulties setting up the module.