How to Create a Google Client ID for Login Form?
Since PowerPack version 2.8.0, you can now allow users to log in to the site using Google or Facebook. This not only provides a faster onboarding experience for a user but also streamlines the process.
Let’s see how we can set up Google’s Client ID that is needed to login through Google.
Get the Google Client ID
1. Go to https://console.developers.google.com/
2. Setup a New Project or use the existing Project.
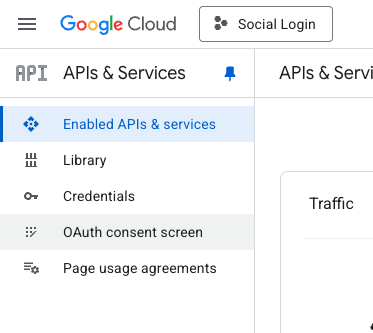
3. In the project’s left navigation panel, click OAuth consent screen.
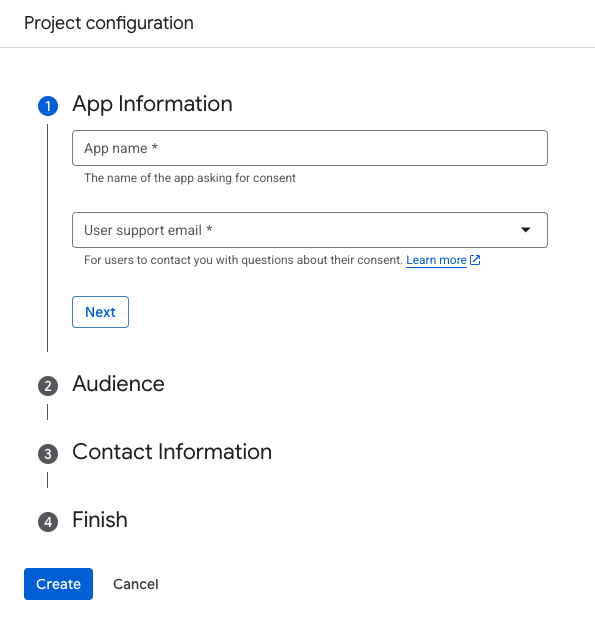
If you’ve created a new project, you’ll be asked to create an app by entering some details like App Name, User Support Email, etc. You need to complete this form. In the “Audience” step, choose “External“.
Setup the OAuth Credentials
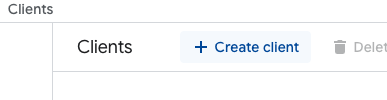
1. On the OAuth Consent Screen page, click on the Clients in the left navigation panel.
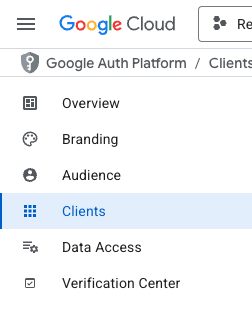
and then click on “+ Create client” on the right.
2. Set the Application Type as Web Application and provide it with a valid name.
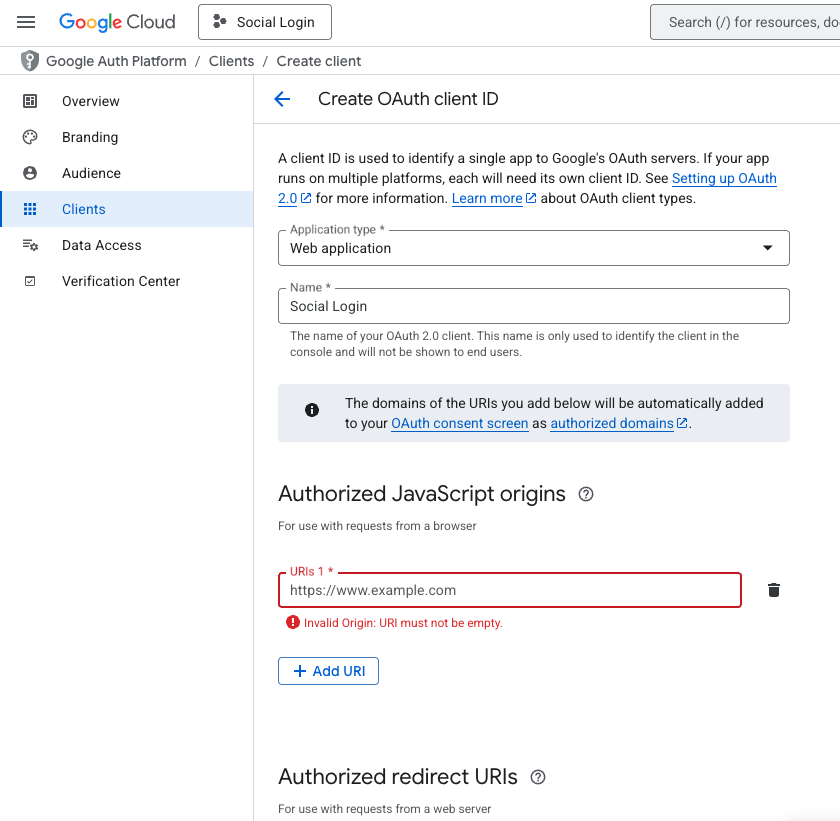
3. In the Authorized JavaScript origins, add the site URL without any subdomains. This domain should be the same as the domain of the site on which Login Form is used. Finally, click the “Create” button.
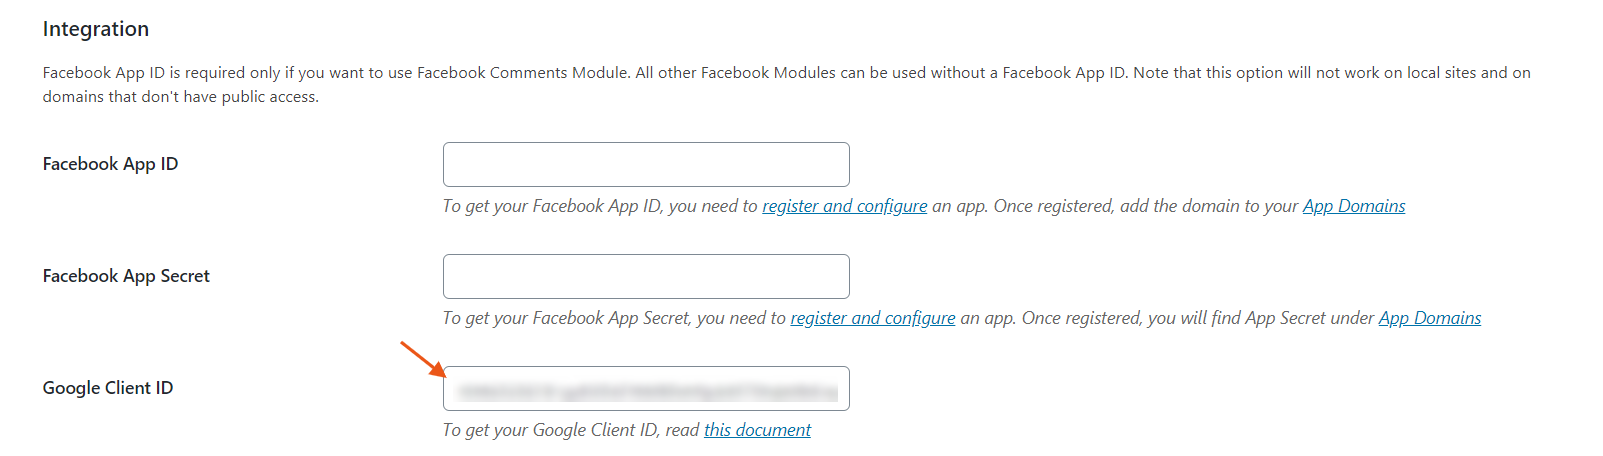
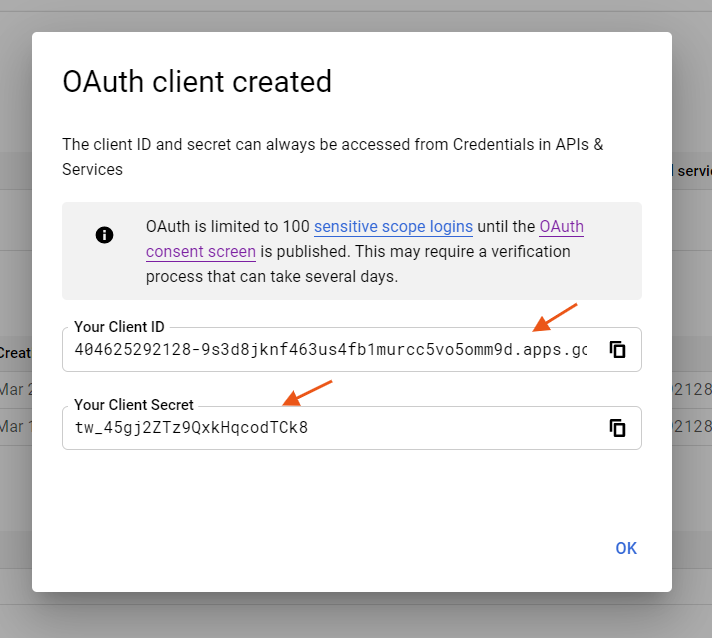
4. You will see a popup like this with the credentials. Copy the Client ID and paste it in the WP Admin > Settings > PowerPack > Integration
5. Click Save Settings and we’re good to use Google’s Social Login.