Setting Up Facebook App and Getting App ID
To start working with the Facebook modules, you will need the App ID. To get the App ID, follow the steps given below.
Step 1: Login
Log in to your Facebook account if you are not already logged in.
Step 2: Register Developer Account
If you are creating a Facebook App for the first time, you need to register for a developer account. Go to Facebook for Developers page and then click on the Get Started button and follow the wizard to register your developer account.
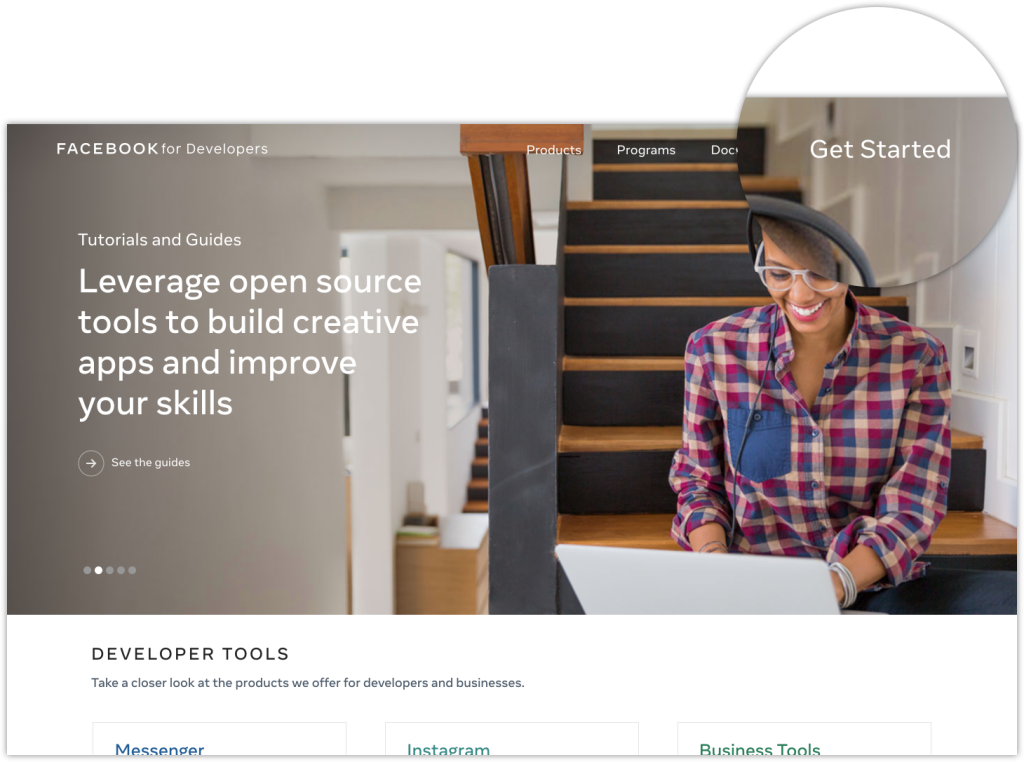
Step 3: Start the app creation process
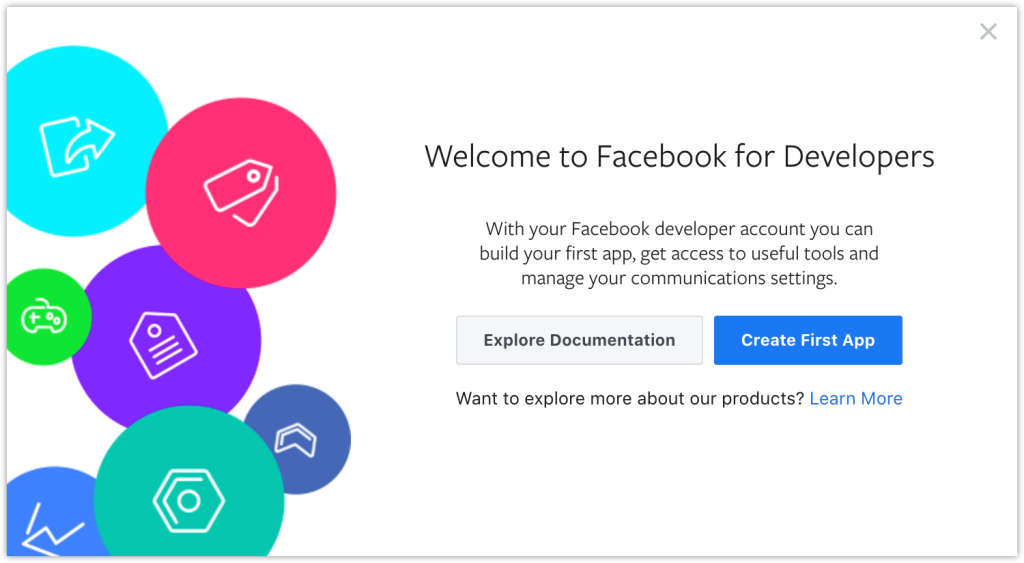
If you just came from the registration flow, click the Create First App button.
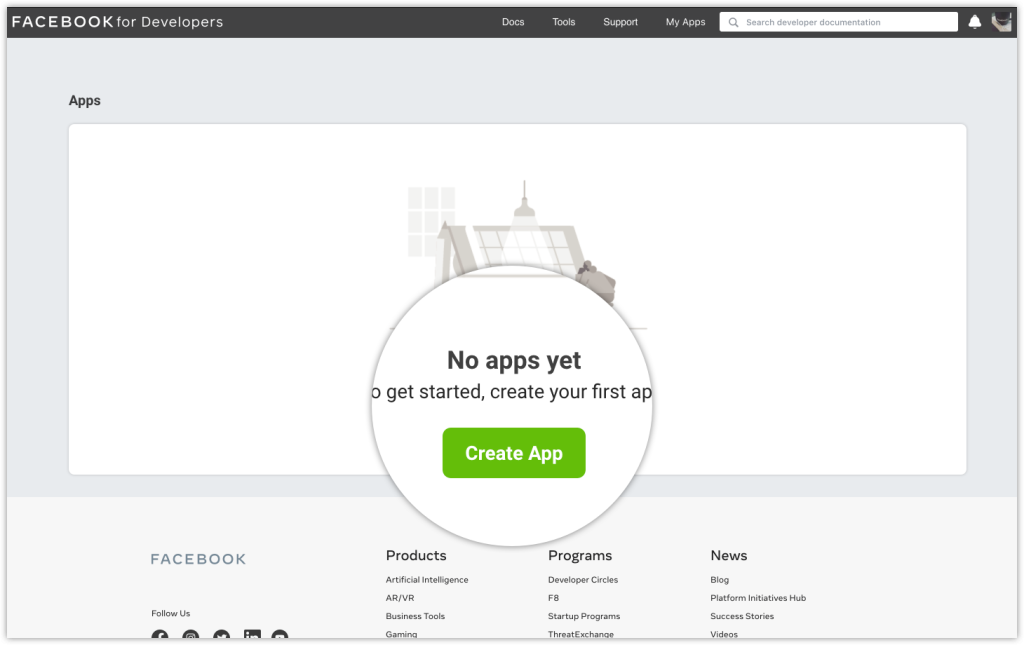
Otherwise, go to the Apps panel and click Create App.
Step 4: Choose an app type
Choose an app type Consumer and click on the Next button.

Step 4: Set your app details
Set the Display name and the contact email for your app. The email address can be different from the email address associated with your Facebook account, just make sure it’s valid and that you monitor it since all important developer notifications will be sent there.
Once you added the details, click on the Create app button.

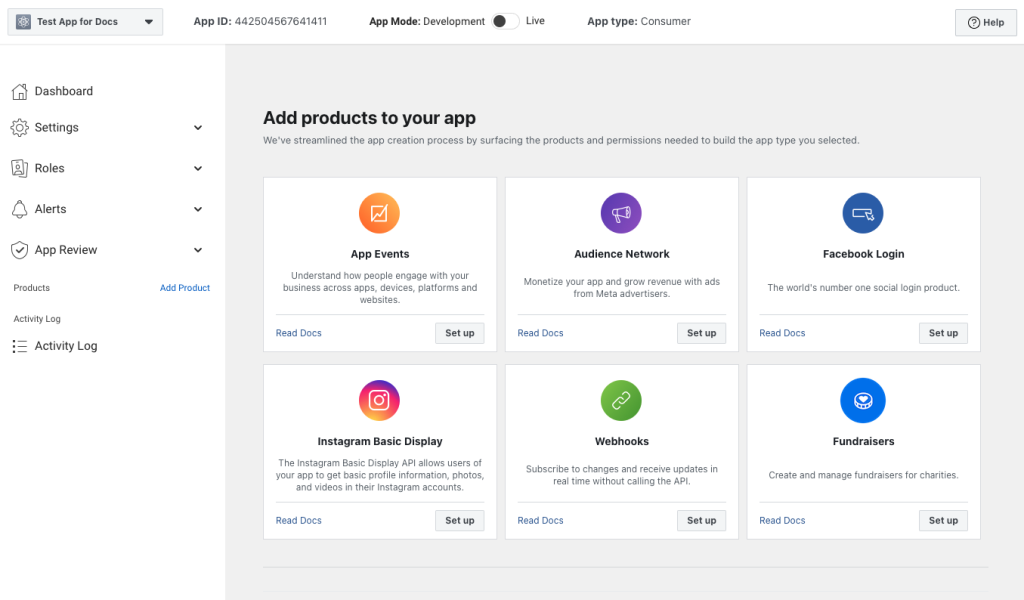
Once you’ve completed the app creation flow, your app will be loaded in the App Dashboard.
Step 4: Configure the app settings
Now, Go to the Settings > Basic and enter the Privacy Policy URL, Data deletion URL (can be same) and choose a category for your app. Once done, click on the Save Changes button.
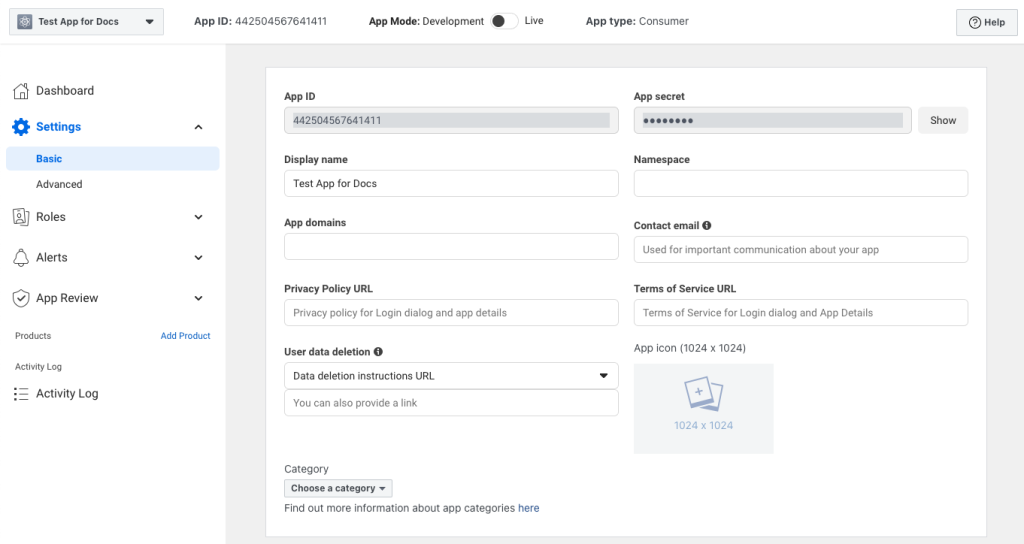
Step 5: Configure the app mode
Click on the toggle button App Mode located in the header that is currently set to Development. You will need to set it to Live.
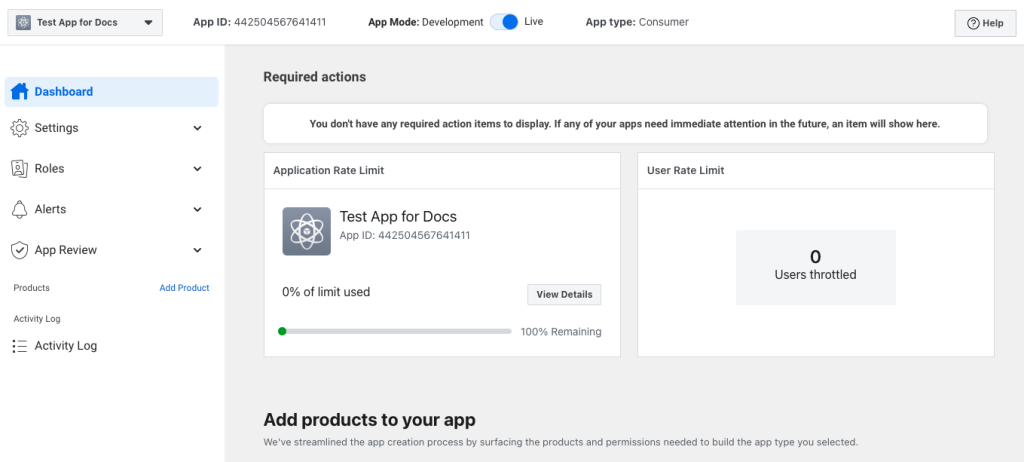
Step 6: Copy the App ID
Click on the App ID showing in the header to copy. Once copied, go to PowerPack settings > Integration on your site and paste the App ID in the field “Facebook App ID”.

Click on the Save Changes button, and you are all set. You can now begin adding and editing Facebook modules to your pages.