How to Create Custom Footer Layout with PowerPack & Beaver Builder
Footers are a one-stop place to show quick access content to visitors. Until now, creating a footer with Beaver Builder required the use of Beaver Themer but with PowerPack’s Header/Footer option, you can add a custom Footer to the site in a few simple steps.
1. Publish a new template named Footer (for easy identification) taxonomically under WP-admin > Beaver Builder > Templates and edit it using Beaver Builder

2. Once in the editor, you have two options to design a Footer:
- Design a new Footer from scratch using Beaver Builder
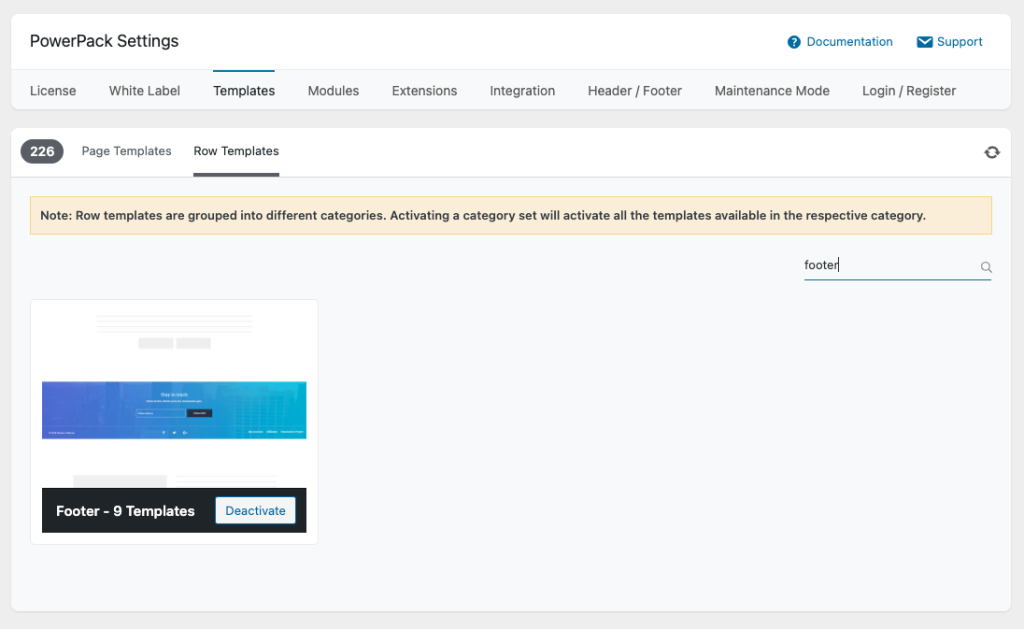
- or use PowerPack’s pre-built Footer Templates to add a professionally designed Footer layout to the page easily. For this, navigate to PowerPack settings > Templates > Row Templates and activate Footer templates.
- Once you activate the Footer templates, you will find them in the builder.
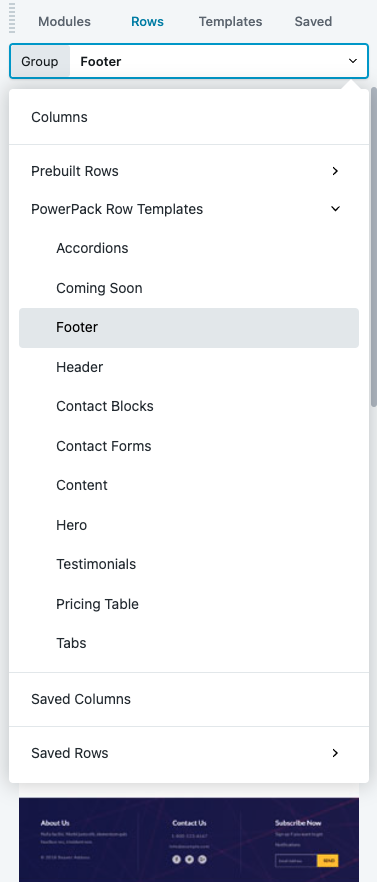
- Choose your desired template and customize it accordingly if needed.
3. Once done with the design, publish the template.
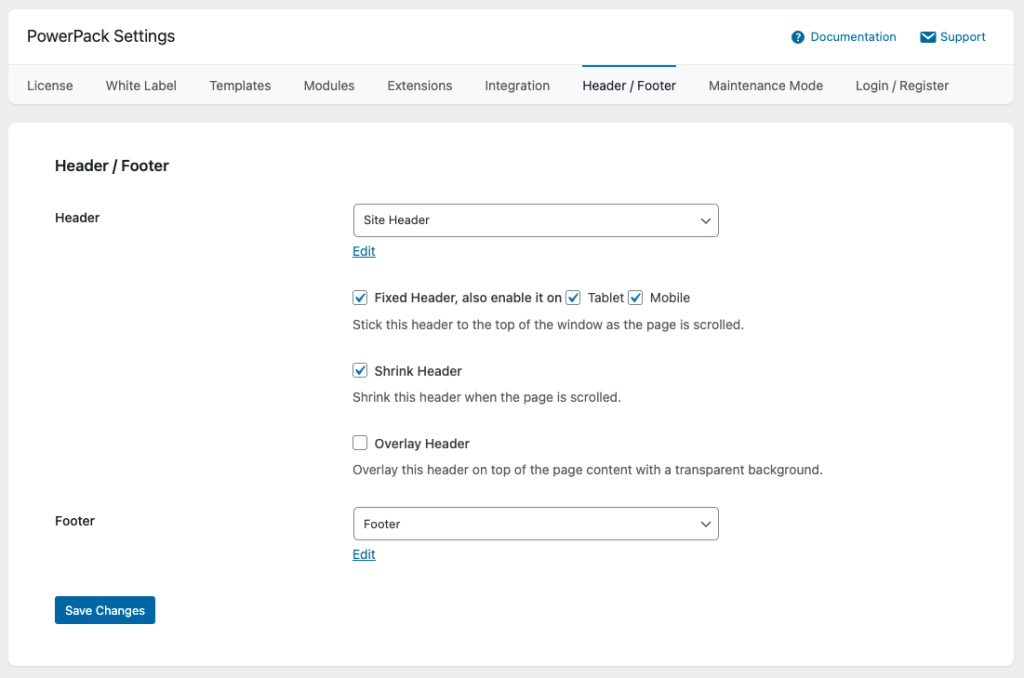
4. Now go to the WP Dashboard > Settings > PowerPack > Header/Footer and set the template you created for Footer.
5. Save the settings and the Footer will appear on the entire site.
