How to add Mini Cart to the Header?
A great shopping experience is always incomplete without a swift cart checkout. WooPack offers great functionality and ease of customization in its Mini Cart module. A question that is commonly asked to us while setting up Mini Cart is that “How to add it to the site Header so that the user always sees it?“.
Answering it in this how-to doc we are going add Mini Cart to the Site Header by using Beaver Themer in 4 easy steps.
1. Go to WP Dashboard > Beaver Builder > Themer Layouts > Add New or select any existing Header.
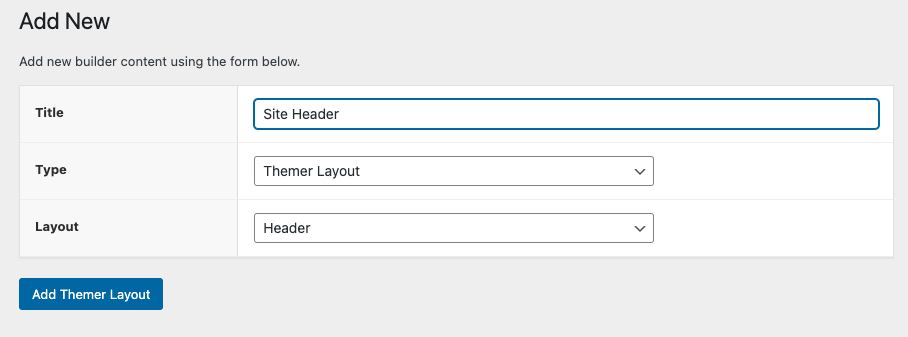
2. Name the header and set its display rules.
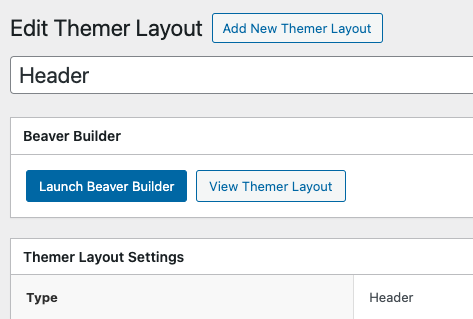
3. Click on Launch Beaver Builder to edit the Header.
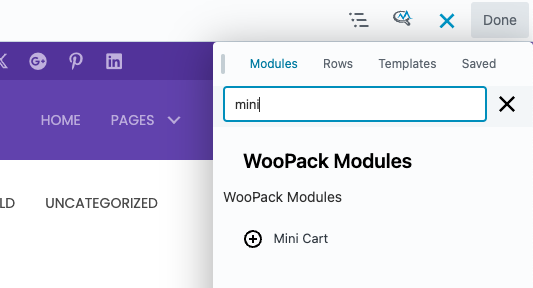
4. Add the Mini Cart module to the Header and set it up according to the design and save/publish the layout.
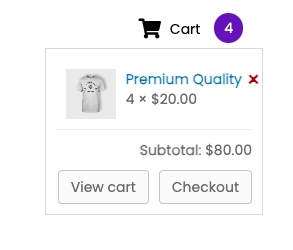
Once published you’ll see the beautiful Mini Cart in the site’s header.