How to Create a Portfolio Section with Filterable Gallery?
Last updated June 3, 2019 · Yashwardhan Rana

How you display your work on your website matters a lot! For a photographer or a graphic designer or any other professional, displaying your best work should be done in the best manner as well. But, most of the time, WordPress themes do not offer much editing and customization. To tackle this problem, we designed the Filterable Gallery module for Beaver Builder.
Filterable gallery module allows you to easily group the images into different categories and display these categories as filters. So, the user can click the Filter/Category to see all the images for the particular filter/category. Some websites even use Instagram Feed to display their latest work, it is a good way to automate the portfolio specially for photographers & designers.
Why you should Create a Portfolio with Filterable Gallery?
If you run a digital agency, you can have your portfolio across varied segments like Graphic Design, Web Design, Mobile Apps, Branding, etc. If you are a Photographer, you can have a wide range of categories like fashion, landscape, wildlife, sports, wedding, architectural, etc.
A creative way of displaying web design portfolio is to use Image Scroll Module. On some websites, where you need before & after comparison for example – Dermatologists, Dentist, Interior Design, etc. you can use the Image Comparison module.
Displaying all your work/images in a gallery isn’t an efficient way of presenting your skills. Best of your works in different categories will be lost in between several images. Your portfolio should be easy to navigate for your prospective clients so that they can quickly look through your work similar to their requirements.
Filterable Gallery module provides an easy to use and efficient solution to the problem of showcasing your work. The module allows you to add and customize impressive filterable galleries on your website. Let’s jump in and see how you can use this widget to share your work.
How To Create a Portfolio with Beaver Builder?
Before we go further, make sure that you install and activate the Beaver Builder and PowerPack Beaver Builder addon on your WordPress website.
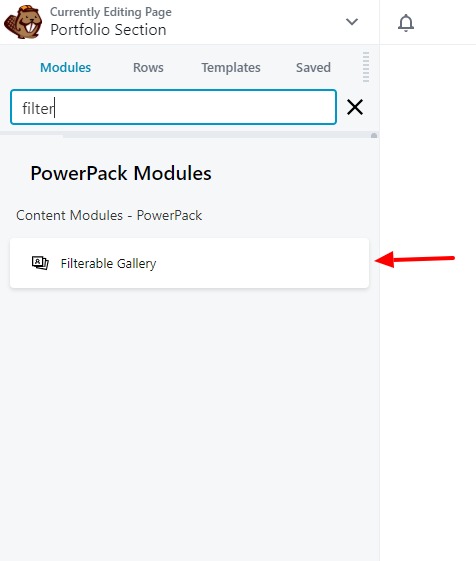
Step 1: Adding the Filterable Gallery module
Go to the page where you want to add the filterable gallery and then open it using the Beaver Builder editor. Once you are in the editor, look for the Filterable gallery module. You will see a message “Please add photos to the gallery.”
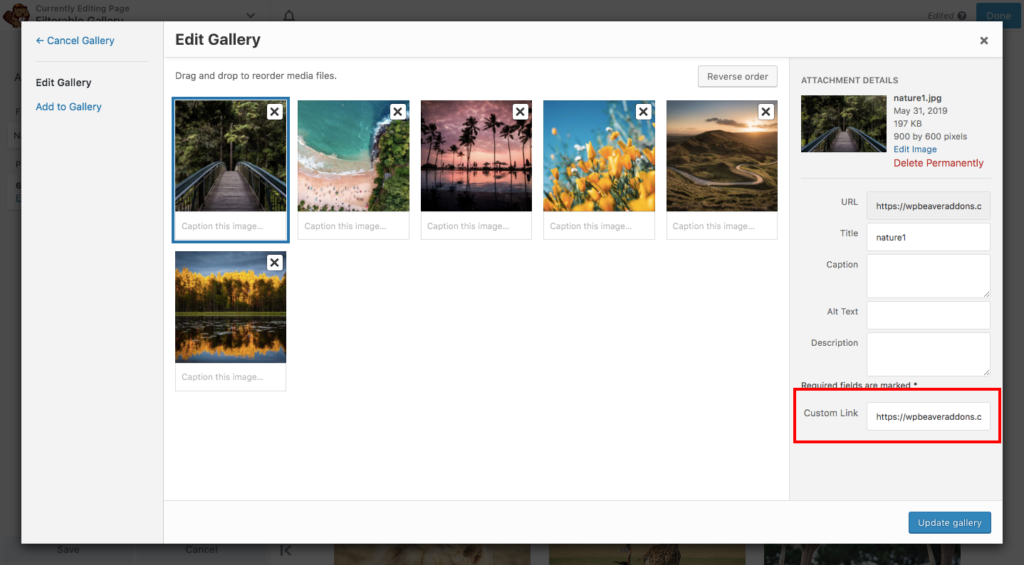
Step 2: Adding Images
Now firstly, we need to add the images to our gallery. For this, go to the Photos tab and Click on the “Edit photo group 1”. Give the filter label a proper name and add the photos from your media library using the Add Photos button. Repeat the same for different filters you want on your gallery.
Once you are done adding the photos to different photo groups, click on the Save button as shown below.

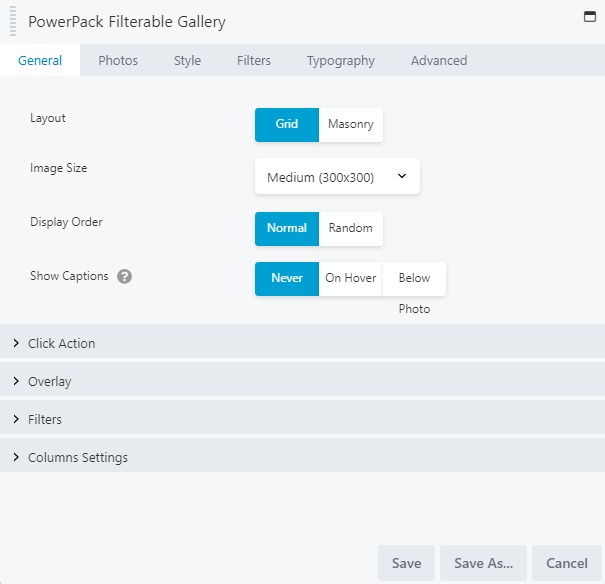
Step 3: Layout and Design
Now go back to the module’s General tab and choose the layout you want from Grid and Masonry. You can also choose the image size, display order, etc. from the options. You can also enable/disable the captions and can determine what happens when a user clicks on an image. Once you are done, move on to the Style tab.
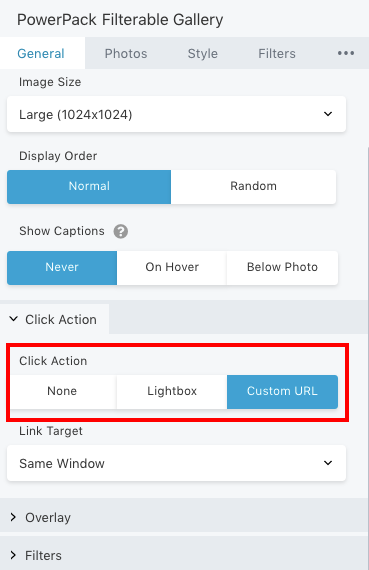
Step 4: Display Image or link to a URL
Now that we have added the images and finalized the layout, it’s important to set the on click behavior. Filterable Gallery module for Beaver Builder allows you to open the full-size image in a lightbox or you can set an external link. Displaying full-size image is perfect for photographers and artists, whereas web agencies can set an external link to the project.

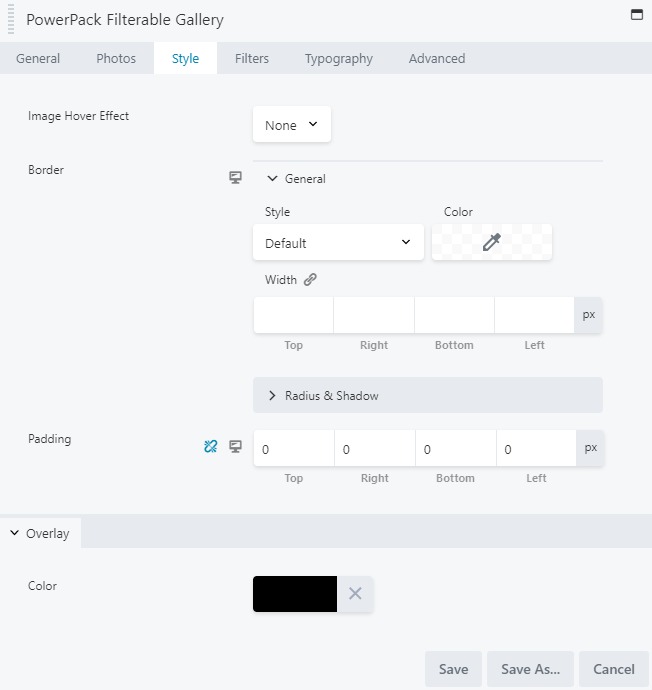
Step 5: Styling the Gallery
Style tab allows you to add hover effects, borders, padding, overlays, icon, etc. From the style tab’s general settings, you can change the radius, shadow, padding, overlay effects for the images. Further, you can change the icon size, background color, icon color, border radius, and padding of the picture.
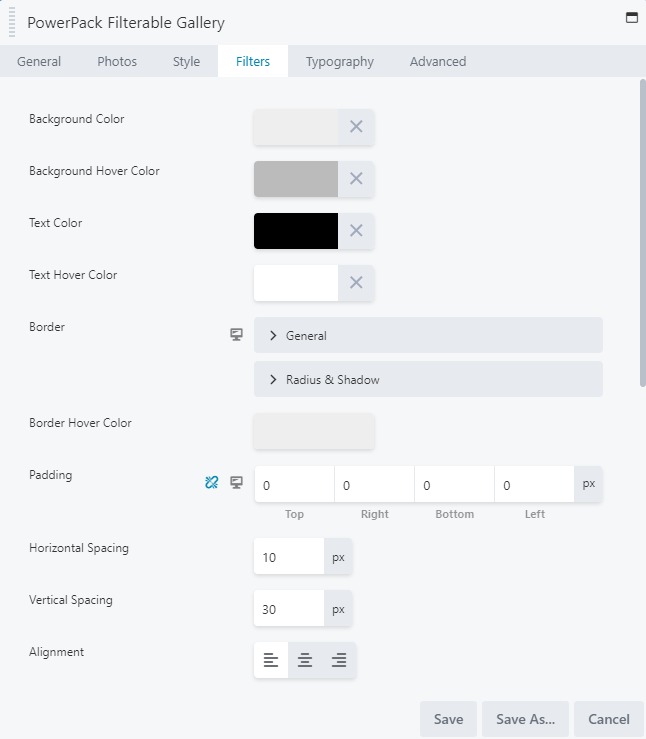
Step 6: Filters Customization
Here we can customize how the filters look. Filters are the tabs on the top of the image gallery, which helps the users to navigate between the images and categories easily. Here you can change the background color, background hover color, the text color, and the hover color for the filters. You can change the width, horizontal and vertical spacing for the labels, padding, toggle responsiveness, alignment as well as borders from the given respective settings.
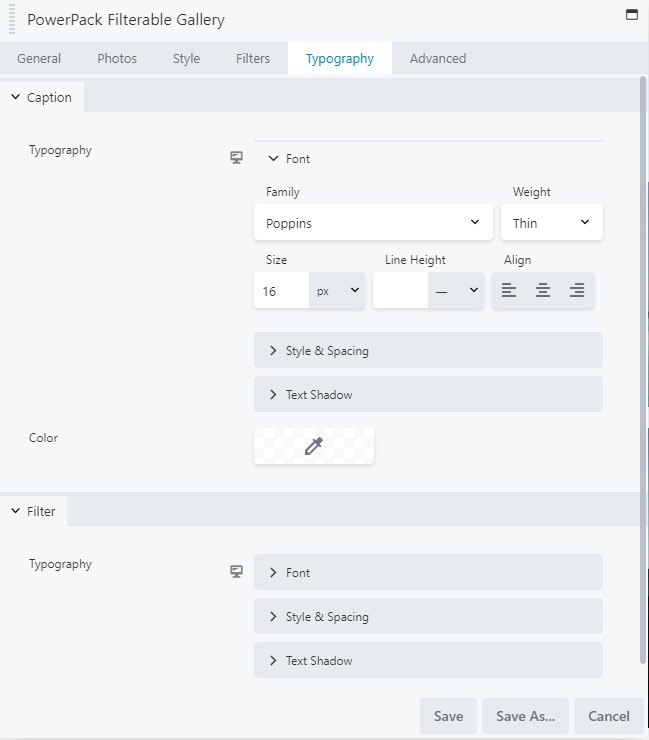
Step 7: Typography
In terms of typography, you can make your text on the filters looks precisely the way you want from the typography tab. You can individually customize the typography for the captions and filters.
Step 8: Publishing the Design
Once you have all the customizations taken care of, you can go ahead and publish the design just like any other. Go to the Don button on the top right corner of the page. Then, click on the Publish button to make your changes live.
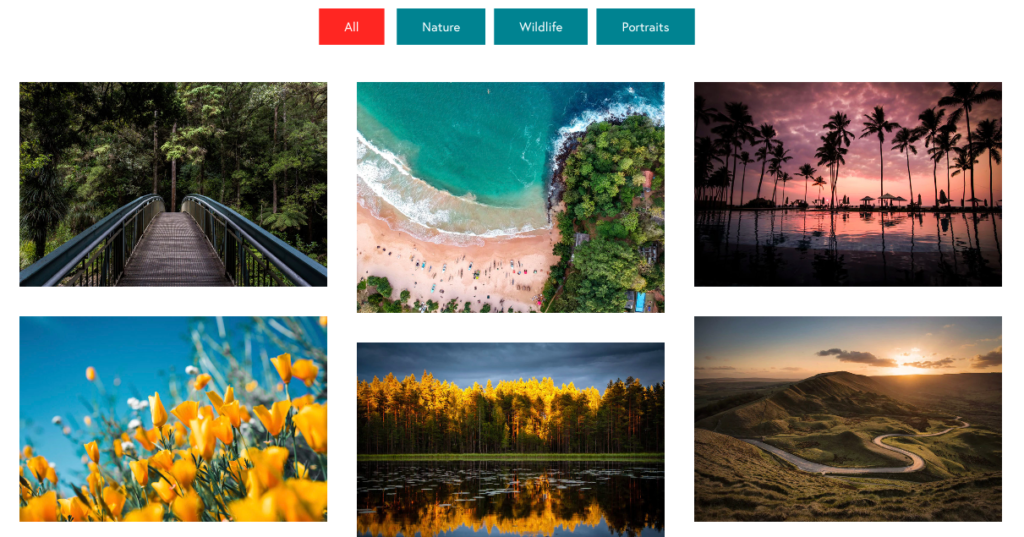
Here is what the final design looks like:
Winding it Up!
There are a lot of layouts & designs that you can make with the Filterable gallery module. The power of bifurcating the images with just a single click can add a lot of value to your portfolio.
If you liked this module for Beaver Builder, you can get it with PowerPack Beaver Builder addon.
What do you think of this module? Let us know that by commenting it down below!
A few more interesting posts →
6 Comments
Leave a Comment

PowerPack Beaver Addons
Start creating beautiful websites with 65+ modules and 350+ templates for Beaver Builder.
How could i set thumbnails for the preview images to decrease loading time of the images?
any way to do this?
thank you
Hi Bjoern
The module has an option to select a smaller image size for thumbnails so this can help reduce the loading time.
And another one. On desktop i use 3 columns, for tablet that´s fine too. Is there a way, to show this with just 1 column on mobile without using a 2nd module just for this?
Thanks again
Hi Bjoern
Yes, you can set a different number of columns for desktop, tablet, and mobile devices in the module settings.
It would be great if you could add support for Beaver Themer to this module so that we can automatically populate the photo groups.
When in “All”, how do I make all the images load in the alphabetical order of their caption? Currently, the images are loading by filter group and I do not want that.