How to Create a “How-To” Page with Beaver Builder?
Last updated January 5, 2020 · Priyanka

If you are an SEO expert, you must come across the term Schema Markup. It is one of the strongest and latest evolution in SEO.
Back in 2018, Google announced a new structured data type How-To, for validating and marking How-to content on websites. To leverage this data type, PowerPack team came up with an innovative How-To markup module that allows you to add “HowTo” structured data to your website content and helps you to rank in Google search results.
Also Check: How to Create an FAQ Page with Beaver Builder?
What is a How-to page?
How-to page of any website consists of set instructions to perform a specific task. Let’s say you own a cookery website where you frequently share recipes of different cuisines. You can easily share a recipe of those products in a step-by-step method using PowerPack How-To Schema Markup Module and can easily mark your online presence in Google search results.
So, to rank in google search results and to mark your website presence in Google’s Featured Snippets, you can use the PowerPack How-To Schema Markup Module. This module helps you to mark up your website content that comes in a how-to form. It allows bots to understand your website content more efficiently and make it easier for them to publish more relevant content to searchers. Ultimately, a better ranking in the search results.
How to create a How-To Page with Schema Markup using Beaver Builder?
PowerPack How-To module comes with a schema markup integration that allows you to define your content in HowTo Structured Data format defined by Google.
Let’s see how you can create an SEO optimized “How-To” Page with Beaver Builder and PowerPack.
Step 1: Create a New Page & Add PowerPack How-To Module
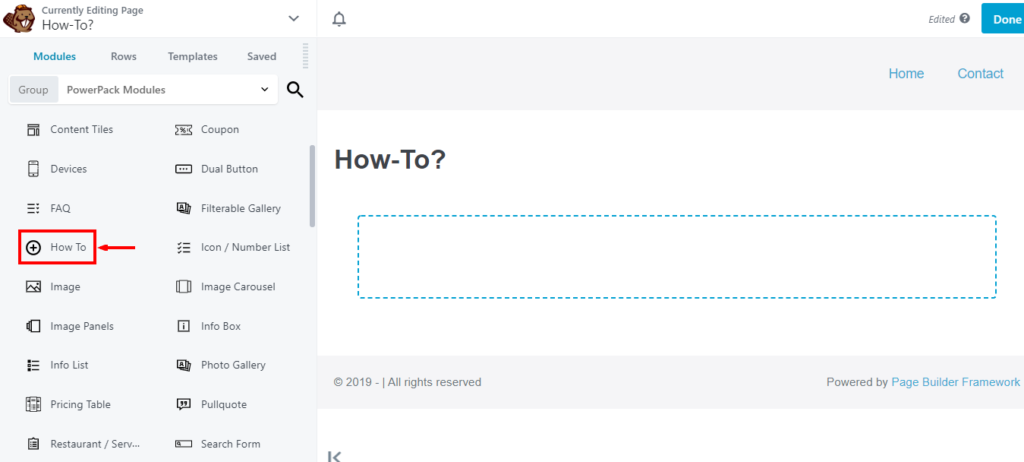
Login to your WP admin dashboard > Pages > Add New. Give a title to the page & click the blue Launch Beaver Builder. Once you are in the editor, drag and drop the How To Module by PowerPack on the page.
Step 2: Customizations in the General tab
General tab has three subsections: General, Advanced Options and Steps, these subsections allows you to define the following information in a structured format:
- Title
- Summary
- Feature image
- Tools
- Requirements
- Cost
- Time duration
- Steps
Let’s see one by one how you can use these options to create a useful How-To page for your website.
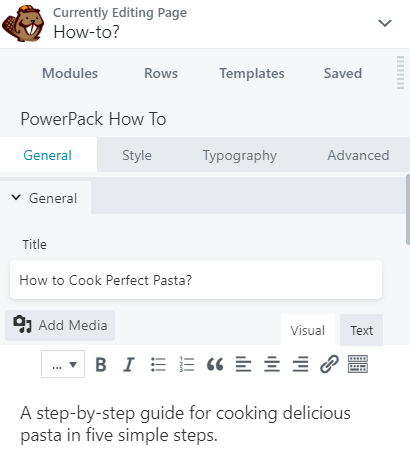
Title: As the name suggests, here you need to define a proper title of your How-To page. This is one of the essential options of the page as it presents an overview of the How-to page and giving visitors an idea about the page.
Summary: Here, you can give a brief info about the content that has to be displayed on the How-To page.
Image: Select a suitable featured image and make sure it perfectly represents the content of the page.
Before adding any image first make sure:
- Image URLs must be crawlable and indexable.
- Images must represent the marked-up content.
- Images must be in .jpg, .png, or. gif format
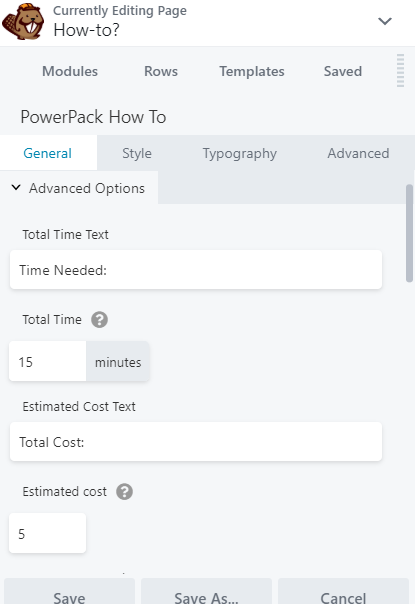
Advanced Options: Enable Show Advanced Options button to showcase the advanced content such as Tools, Requirements, Cost & Time Duration.
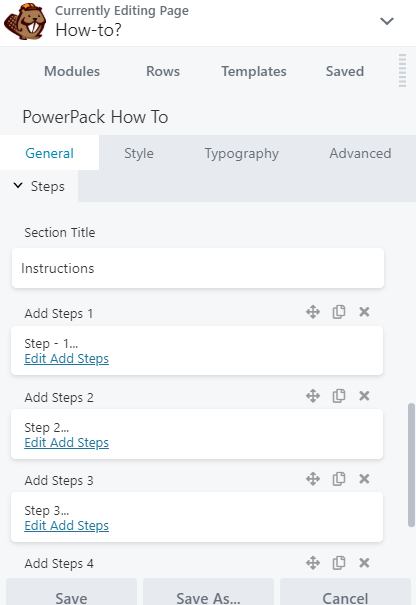
Steps: With How-To module, you can define a proper step by step instructions to accomplish a specific task. Also, it allows you to add images related to the respective task individually for each step.
Defining this helps Google bots to crawl your website content better & provide a piece of proper step by step information to searchers on how to accomplish a specific task.
Step 3: Customizations in Style Tab
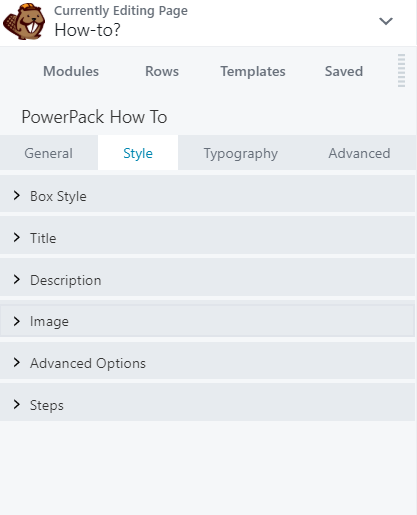
In the style tab, you have plenty of options to customize the content of the How-To page. Here you can completely modify the table, Title, Description, Image, Advanced Options, and Steps content as per your choice.
It gives you the flexibility to add a border, radius, padding, etc.
Also, you can customize each text content as per your choice. In steps subsection, you have the flexibility to choose two different colors for both Title and Title Description content.
We’ll look more styling options for text content in our next tab: Typography Tab.
Step 4: Customizations in Typography Tab
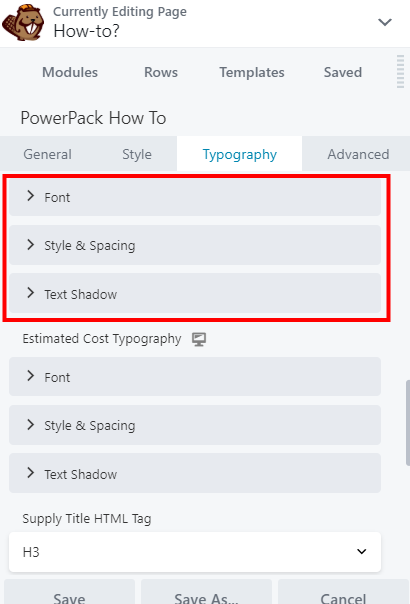
From this tab, you can modify and style the text content of the How-to page.
From choosing the appropriate font to giving styling and spacing for text content, we have got all your customizations needs covered.
The typography tab has mainly three options: Font, Style and Spacing, Text Shadow for each sub-sections. Using these, you can easily style and customize text content of your How-To page and makes it look more impressive.
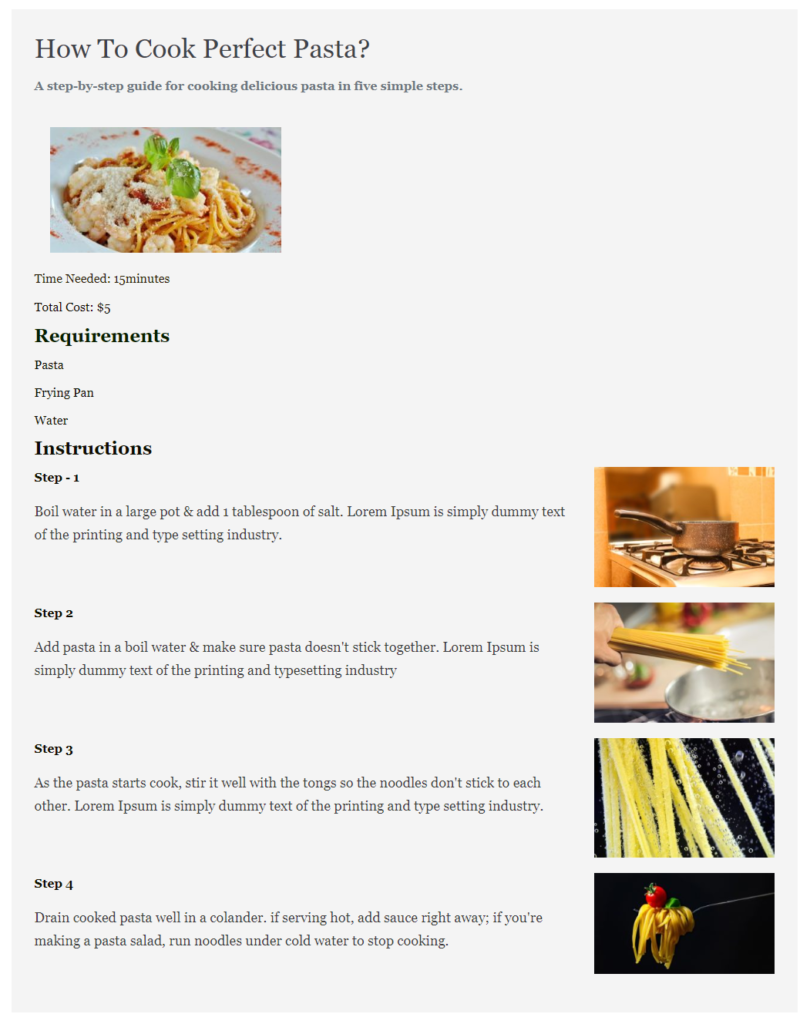
Step 5: Publish the Page
After making all customizations done, this is how your How-To page looks like:
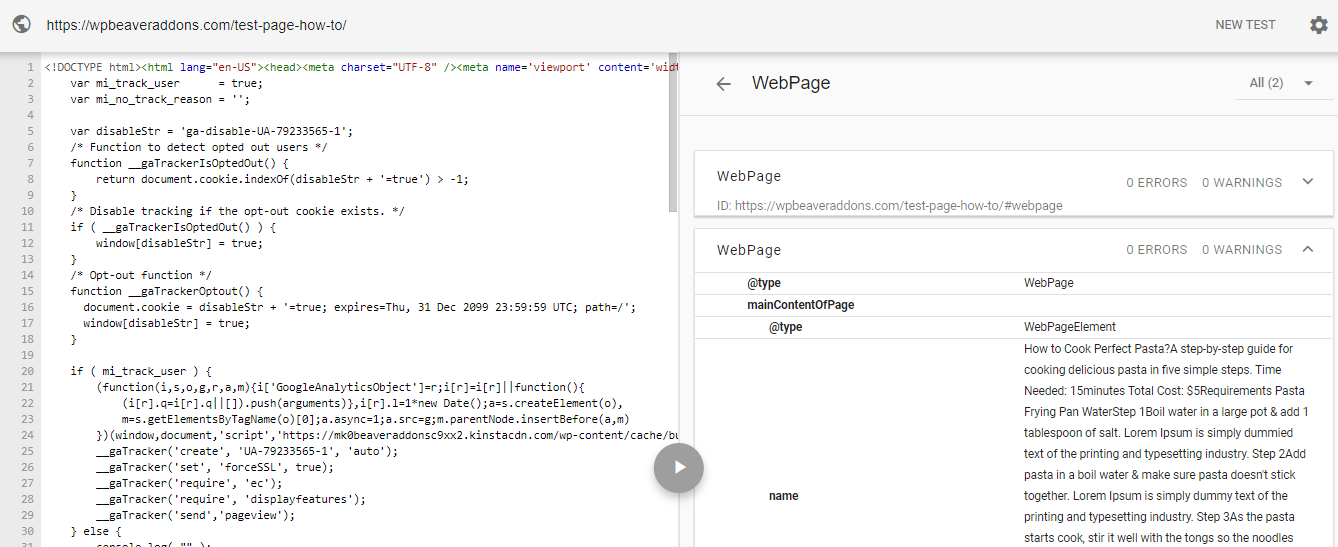
Testing the Page for Structured Data
Once you set the How-to page with all the content, you can check it with the Structured Data Testing Tool.
For testing, please copy the link the page & paste it into the Structured Data Testing Tool page. Now click on the “Run Test” button.
This tool tests the markup of your faq page & display the results or errors just like the below screenshot:
Does your page support rich results?
After you have successfully created & published the How-to page on your website, you can check whether or not your How-To page supports rich results. For this, you can use, Google Rich Results Tool.

Over to you!
How-to schema markup module of PowerPack allows you to add you add “HowTo” structured data to your content on your Beaver Builder websites.
Create Google Structure Data How-to pages & improve your search engine rankings.
Click here to get your PowerPack addon now.
A few more interesting posts →

PowerPack Beaver Addons
Start creating beautiful websites with 65+ modules and 350+ templates for Beaver Builder.