How to Create a Custom Login Page with Beaver Builder?
Last updated August 27, 2019 · Yashwardhan Rana

Are you looking for an easy tutorial on how to create a custom WordPress login page? You have landed on the right page!
If you have a WordPress membership site or a WooCommerce store, then most of your users will likely be visiting the login page of WordPress. The default login page is pretty basic, and if you want to make it look better, you can do it easily with Beaver Builder and PowerPack Beaver Builder addon
Let’s see how you can make a custom login page.
As I mentioned earlier, you will require Beaver Builder and PowerPack Beaver Builder addon so make sure you have both the plugins installed and activated on your website.
Creating a Custom WordPress Login Page with Beaver Builder
Here are the step to create a custom login page for WordPress with Beaver Builder
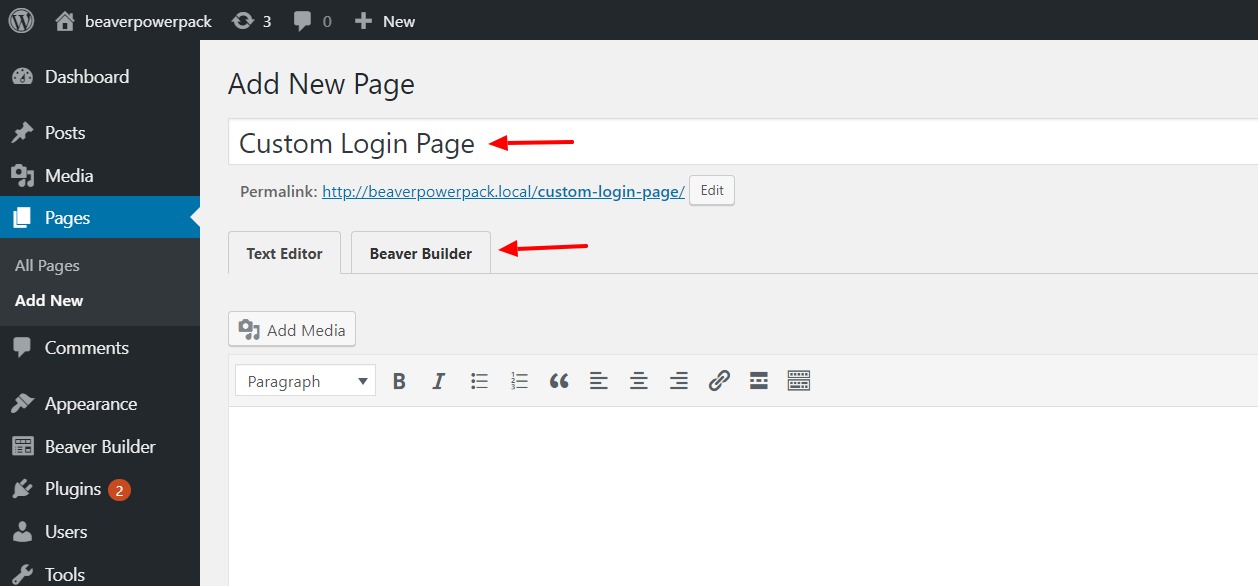
Step 1: Creating a New Page
Go to WP admin dashboard and then go to pages and click on Add New button. Give your Page a proper name and click on the Beaver Builder button to launch the builder.
Step 2: Creating the Login Page with Beaver Builder
Firstly, drag and drop 2 column layout on the page. Now, on the left column, add the image module and choose the image you want to display there.
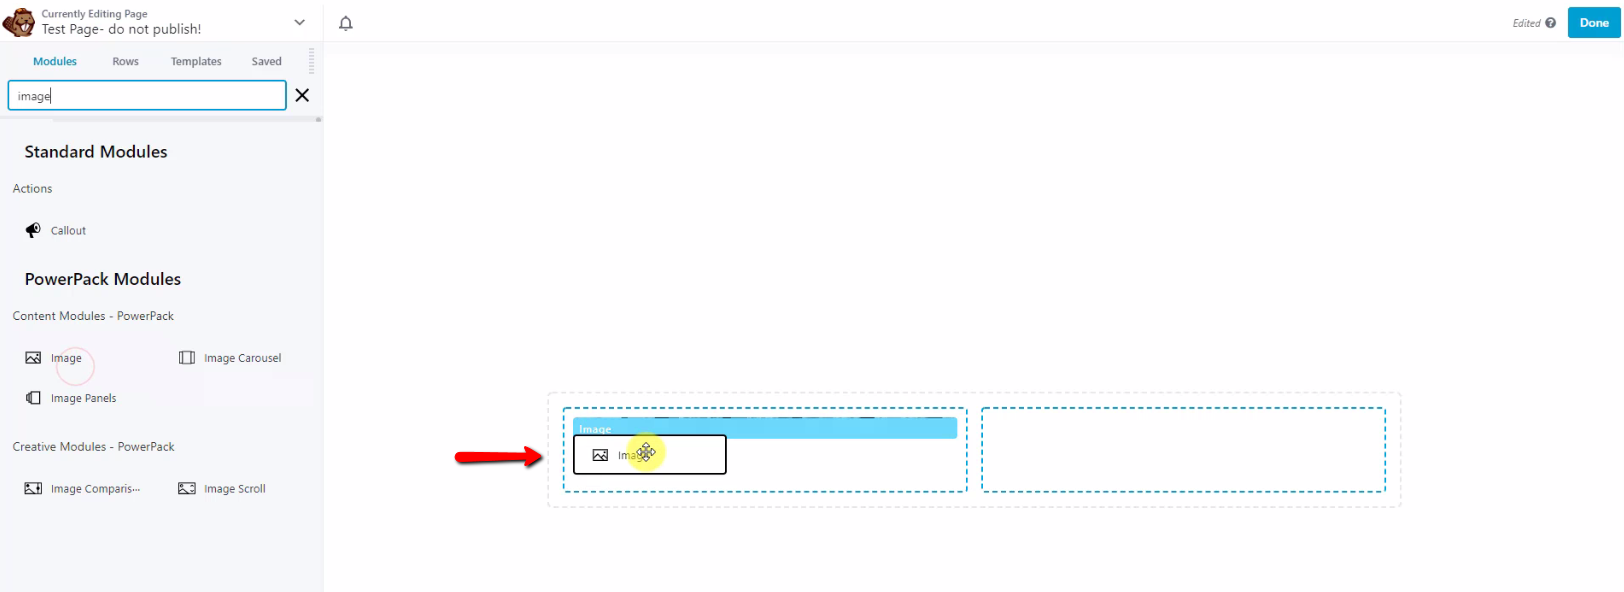
Resize the image to make it bigger and adjust the margins for the same.
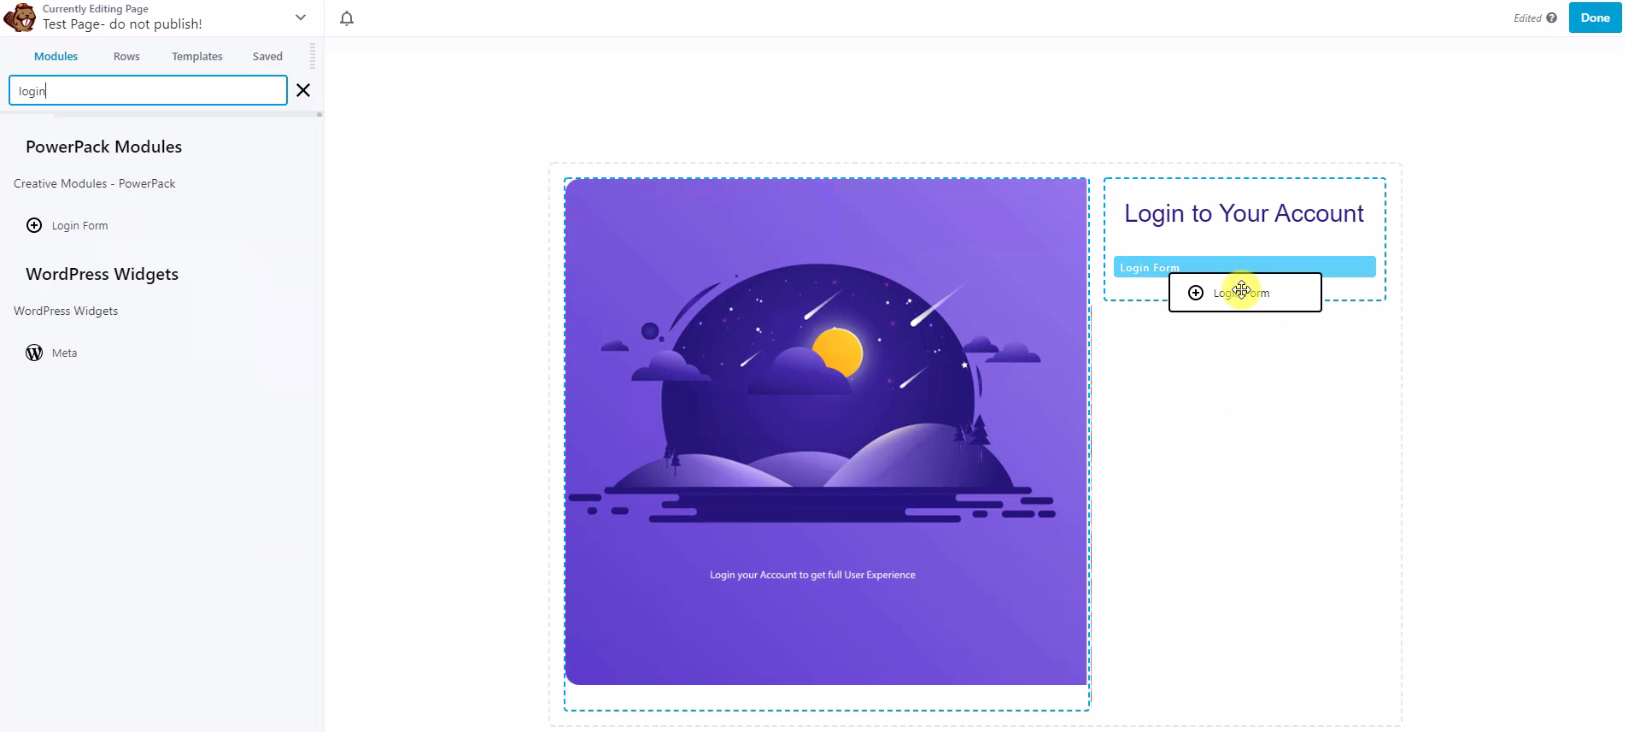
Now add a heading module on the right and change the heading’s text to “Login to Your Account” or any other text you want to add there. You can change its styling, text, font, color, etc. from the settings.
Now we need to add the Login Form Module. Lookup for the login form module and drag and drop it on the page below the heading.
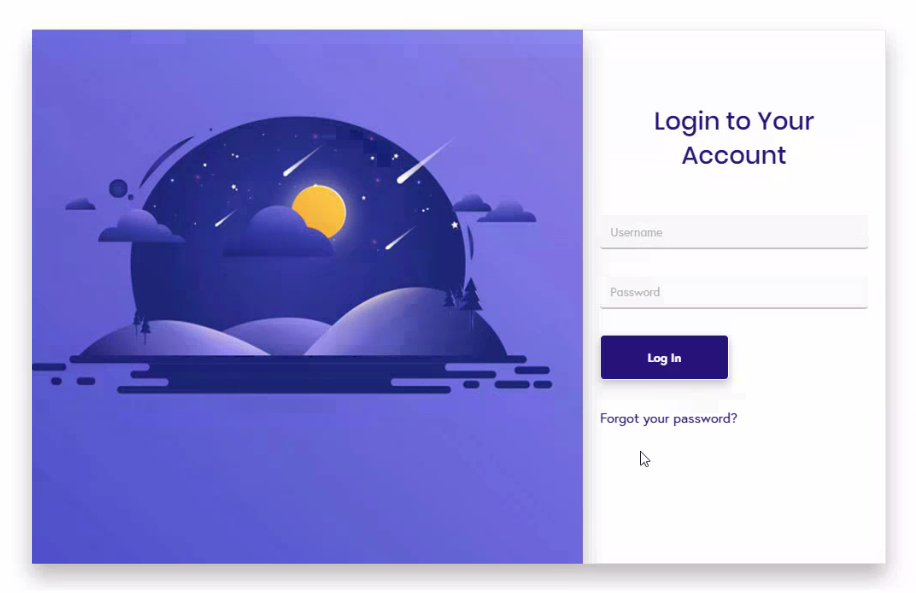
Now, we will be Customizing the Login Form to make it look better and visually beautiful. We will start by disabling the labels and changing the placeholders. We further altered the ‘change password’ link text and then disabled the register link. This is what your login page would look like:
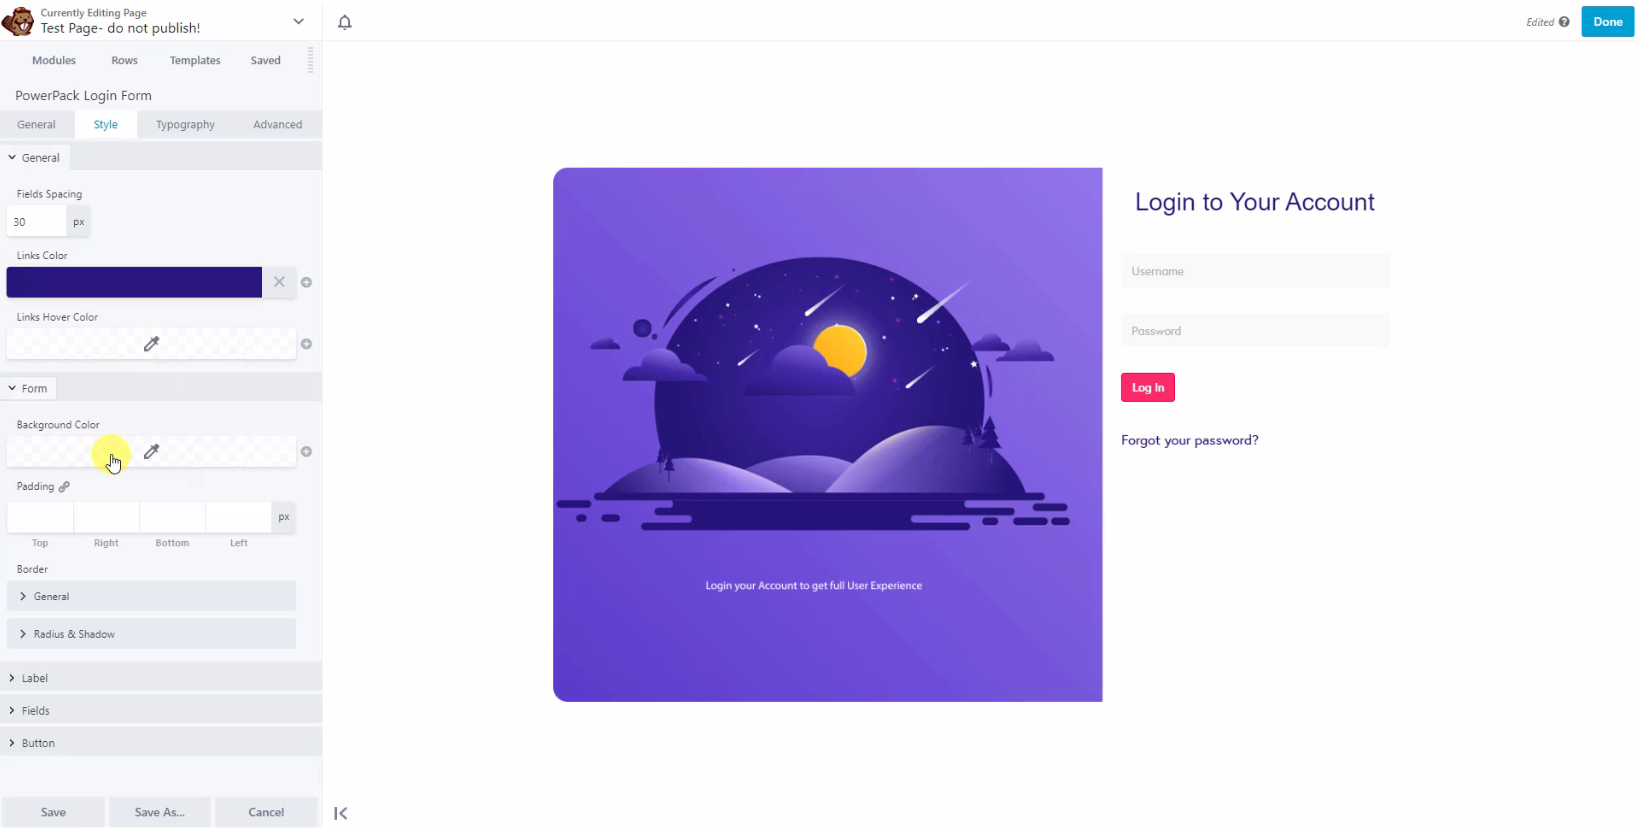
From the style tab, you can change the spacing, coloring, border, padding, radius, margin, etc. for each element of the login form. Here are the changes we made:
- Changed the overall field spacing
- Adjusted the link, text, and background color of the elements
- Changed the border style for the fields and button
- Added hover colors for the button
- Changed the width and border of the button
You can go further and make typography changes to all the elements on the page from the typography tab.
You can go ahead and add borders and border-radius to the image. moreover, you can even add box-shadow to the image and the columns. This is what the final result looks like:
Winding Up!
Now you too can get rid of the default login page and create your own impressive login form with the login form module of PowerPack addon for Beaver builder.
If you do not have PowerPack addon, you can get it here.
Let me know what do you think of this module by commenting your thoughts below!
A few more interesting posts →
3 Comments
Leave a Comment

PowerPack Beaver Addons
Start creating beautiful websites with 65+ modules and 350+ templates for Beaver Builder.
at the end you mention “Now you too can get rid of the default login page…”
how does one do this? i wanted to avoid adding a plugin which is why i was glad this is part of powerpack. any advice or links you can point me to for changing the default login page?
Hi Glen,
You can set the custom Login page from PowerPack settings. Please check this documentation guide: https://wpbeaveraddons.com/docs/powerpack/extensions/login-register/setup-custom-login-register-page/
How do we get it working with a 2 factor login prompt from iThemes please?