How to Create Dual Pricing Table with Beaver Builder?
Last updated May 21, 2018 · Yashwardhan Rana

Sometimes showing just a single pricing table is not enough. There may be scenarios where the business plans require showing monthly/annual/lifetime pricing plans for your product versions. What do you do in that case?
Display two pricing tables on the same page? Or create two different sales pages?
I too was stuck in this dilemma quite some time back, but after all brainstorming, I could conclude only one thing – Display both tables on the same page but not at the same time.
It sure does sounds like a riddle but its much more straightforward than that, and just so you know, we will do it without touching a single line of code and in no time 😉
Let’s begin, shall we?
How to Create Dual Pricing Table with Beaver Builder?
Before we begin, make sure that you have the Beaver Builder as well as the PowerPack Pro add-on installed and activated.
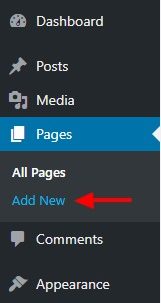
Step 1: Adding New Page
If you have an already existing pricing page, you can directly load it in the page editor, and if on the other hand, you do not have a sales page, you can create a new page too.
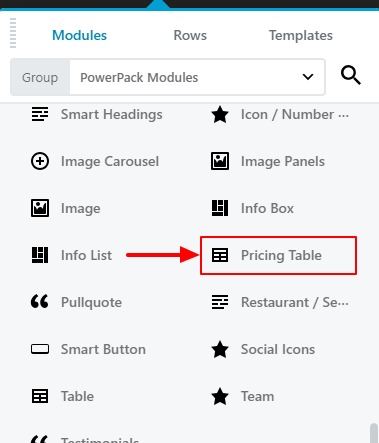
Step 2: Adding Pricing Table Module
Now, in the editor, click on the “+” icon on the top right corner and select the group as PowerPack modules. Now look for the pricing tables module and add it on the page by simple drag and drop.
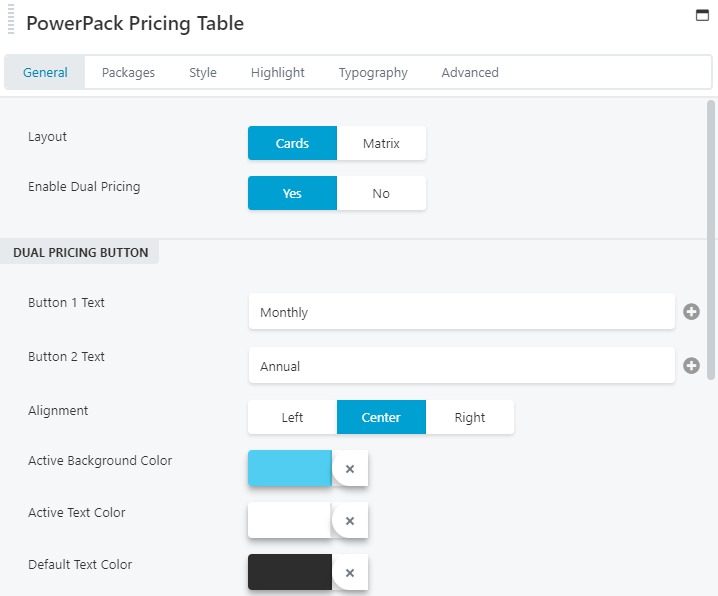
Step 3: Enabling Dual Pricing (Important)
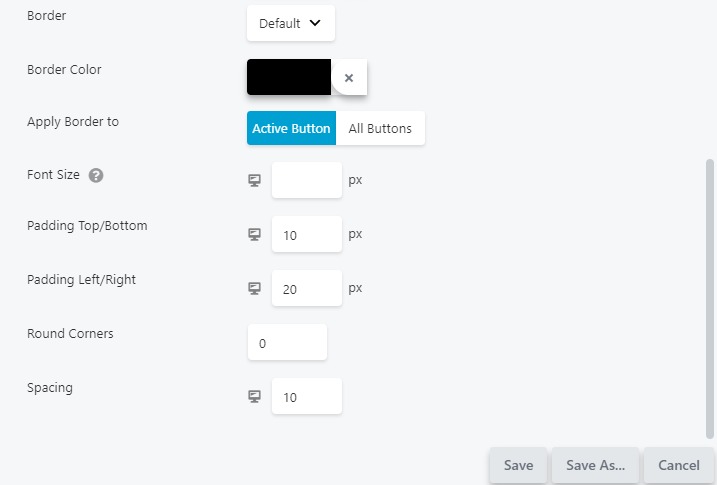
Once you add the module, a settings window will show up. Now we will begin the editing part of the tutorial. Since we need to add dual pricing tables, click on the enable dual pricing toggle option. Dual Pricing settings will show up. Change the button text, spacing, color, background, border and other settings using the general tab.
Step 4: Adding Pricing Tables
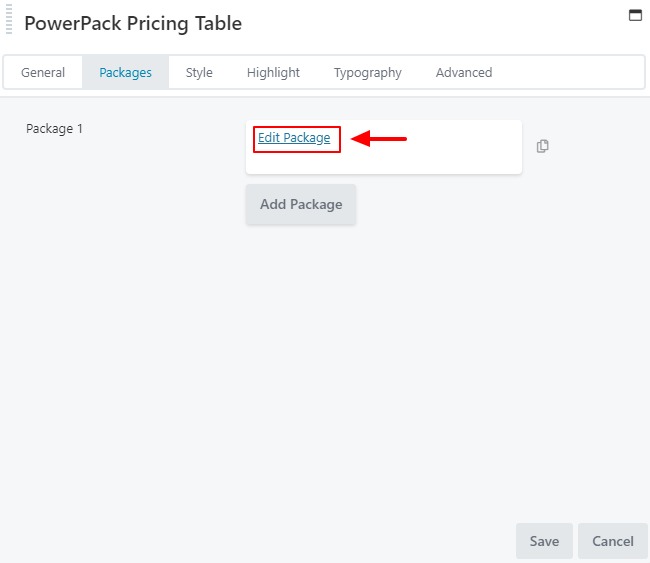
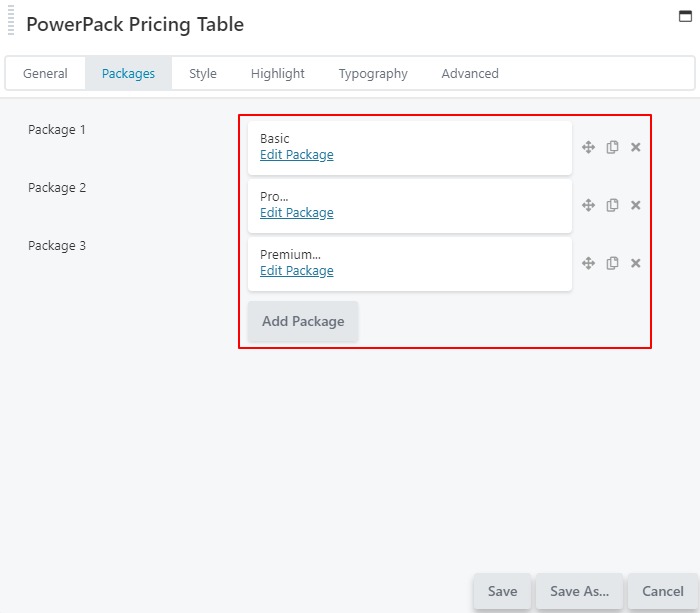
It is now time to edit individual pricing tables and its details. Click on the packages tab and click on the Edit Package button.
Step 5: Editing Package or Pricing Table
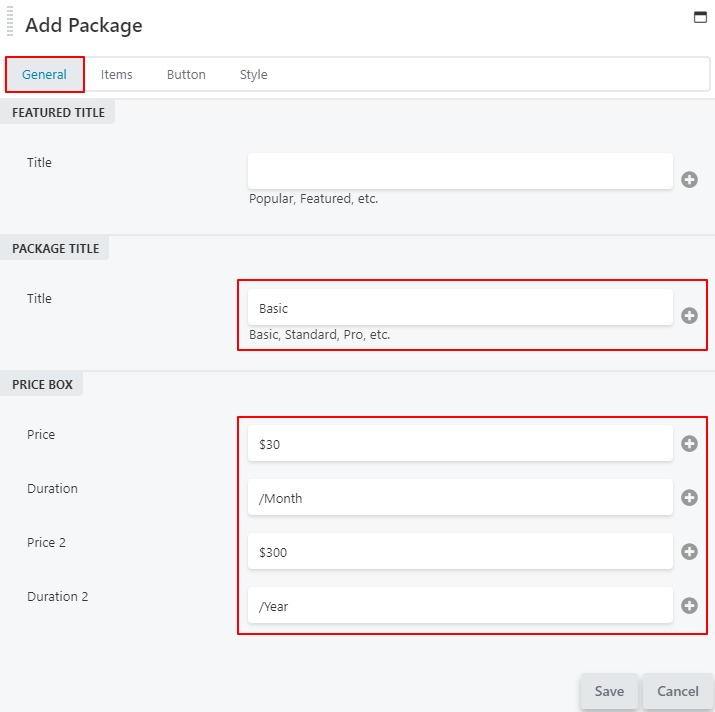
Give your package a proper title and add both the prices in the respective fields. You can add durations as well for the individual prices such as per month, per annum, per 5 websites, etc.
Step 6: Adding Items
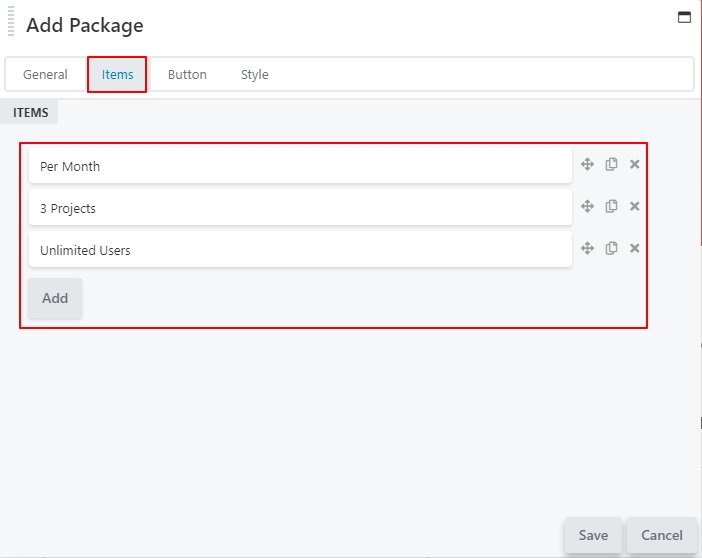
Now move on to the items tab and start adding one feature per field and click on the Add button.
Step 7: Customizing Button
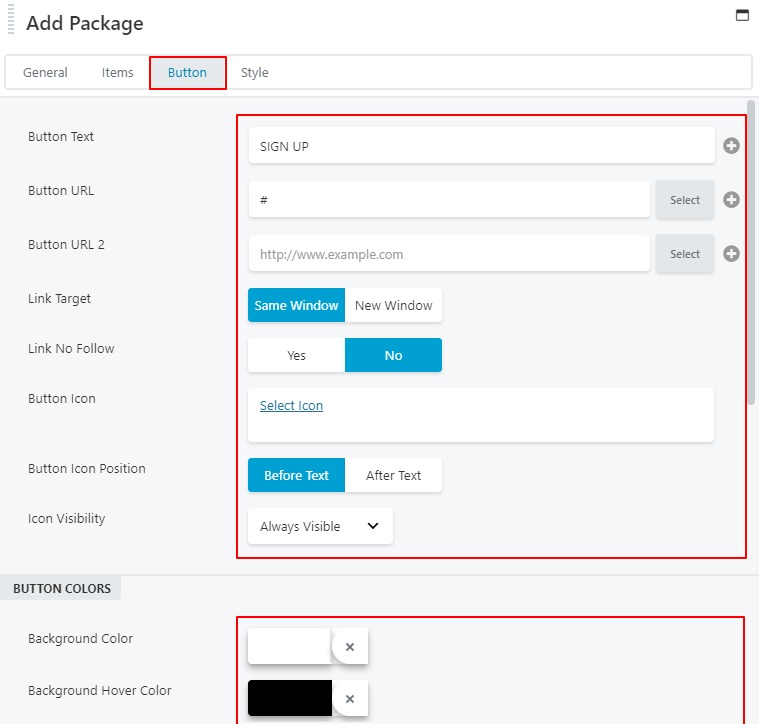
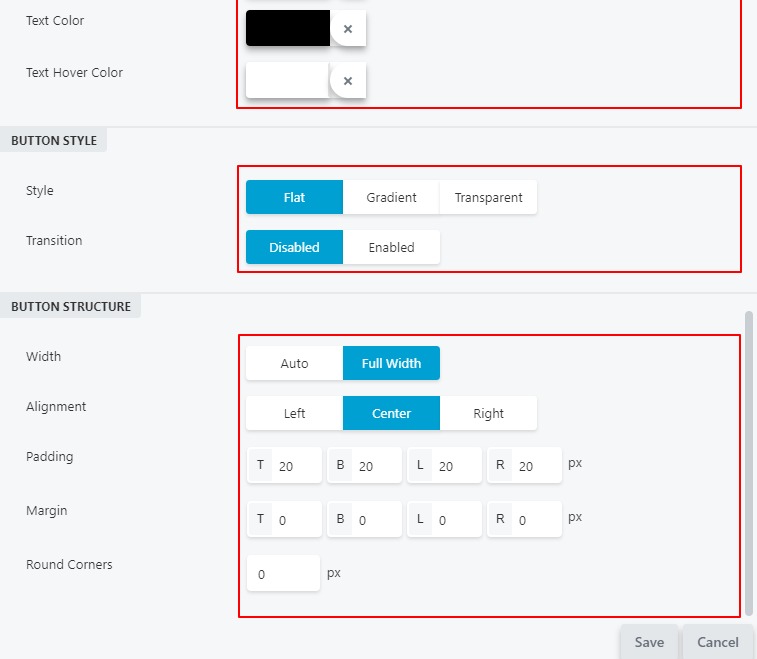
It’s time to edit the button from the Button tab. Change the text and enter the link for the button on the given fields. You can also set the link target window (same/new), change the button structure, style, and colors from this tab.
Step 8: Saving Package
If you want to change the margin as well as the background color of the package, move on to the style tab, and you can do all those changes here. When you have made all the desired changes, click Save.

Step 9: Adding Other Packages
Go ahead and make the changes for the other packages as well. You can easily add more packages by clicking on the Add Package button. Alternatively, you can click on the duplicate button to copy the same pricing card and that way you’ll only have to change the details and not the styling.
Step 10: Designing Pricing Table
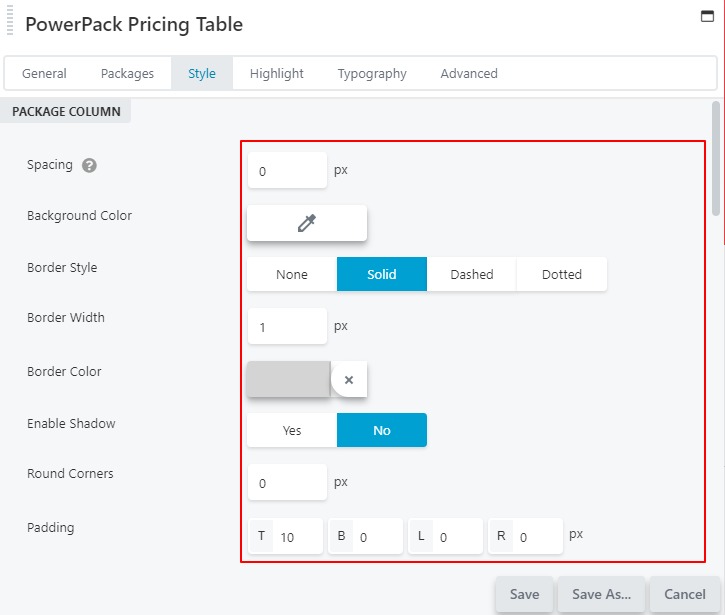
Now comes the styling part. Move on to the Style tab to make the styling changes. You can do multiple changes to the overall package column, featured title, package title, price, and the individual items.
Step 11: Customizing Typography
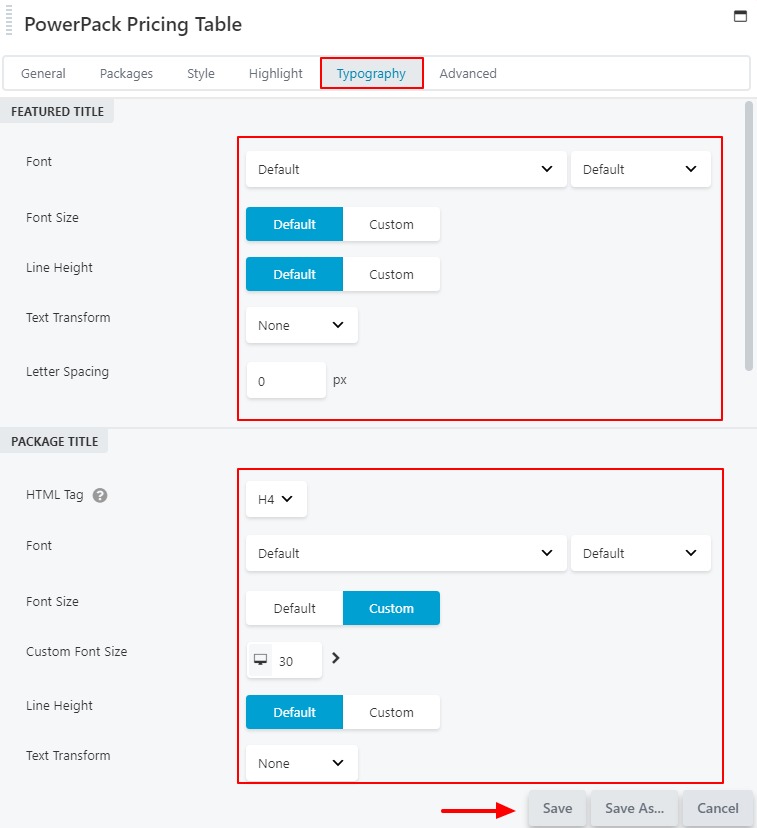
On the other hand, if you want to make text changes to the pricing cards, you can do it from the Typography tab. Change the font, font size, line height, text transform, letter spacing, etc. from this tab individually for the featured title, package title, price, items and the button’s text.
Step 12: Finalizing Pricing Table
Once you have made all the desired changes, click on the Save button. Go ahead and press “P” to enable preview mode on the edit and try toggling the pricing tables.
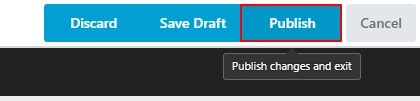
Step 13: Publishing
To make your pricing table live, click on Done on the top right corner. Then click on Publish button to make the changes live.
Here is the final result-
Tell us what you think of the variable pricing tables feature in PowerPack. There are many other modules and templates which come with the PowerPack – The Best Beaver Builder Addon you might want to check out. Get PowerPack now!
If you liked this pricing strategy, do share it!
A few more interesting posts →
2 Comments
Leave a Comment

PowerPack Beaver Addons
Start creating beautiful websites with 65+ modules and 350+ templates for Beaver Builder.
Great features. Thank you. Is there a way to disable or turn off the buttons?
Hi Mike,
There’s no direct option, but you can use CSS:
.pp-pricing-table-column .fl-button-wrap {display: none;
}