How to Create a Custom Header with Beaver Builder Lite
Last updated October 9, 2020 · Yashwardhan Rana

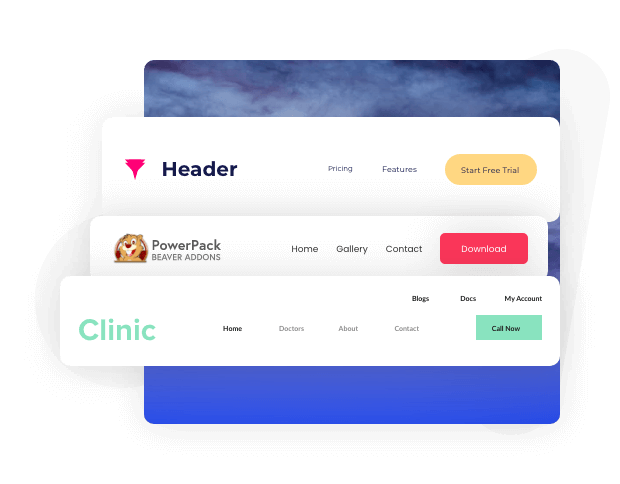
If you are looking for a way to customize your website’s header, You are at the right place. In this tutorial, I will show you how you can customize your website’s header using the Beaver Builder and PowerPack addon.
Your website’s header is one of the essential elements of your website. After all, this is where your website’s visitor goes to when they want to navigate to a different page.
Since this is the area where the user checks the first, it has to be well designed and captivating enough to make the user stay.
Most of the time, most WordPress themes come with a static header style with only a few customization options. In that case, if you wish to customize your website’s header, you don’t get a lot of options.
But that does not mean you cannot customize your website’s header at all. If you wish to customize your website’s header like the way you want, you can do it easily with the Beaver Builder.
Now there are two ways you can customize your header with Beaver Builder.
If you have the Beaver builder pro version, you can use the Beaver themer to create a custom header for your website.
Check here how you can do that:
If you do not have the Beaver Builder Pro version, you can still customize your website’s header easily with PowerPack Pro addon for Beaver Builder and the Beaver Builder lite plugin.
PowerPack Pro comes with the powerful Header Footer builder. With this builder, you can create header and footer templates using the beaver builder and then assign them later as the website’s header and footer.
Let’s see how you can use this feature to create a custom header for your website in minutes using Beaver Builder lite!
Creating a Custom Header with Beaver Builder
Before we go ahead, make sure you have the Beaver Builder lite and the PowerPack Pro addon installed and activated on your website.
Once you have got that covered, we can start with it!
Step 1: Adding a New Page
The first thing we need to do to create a header template is to add a new page.
Step 1.1: Go to WordPress Admin Dashboard > Pages > Add New. Give this page a proper name.
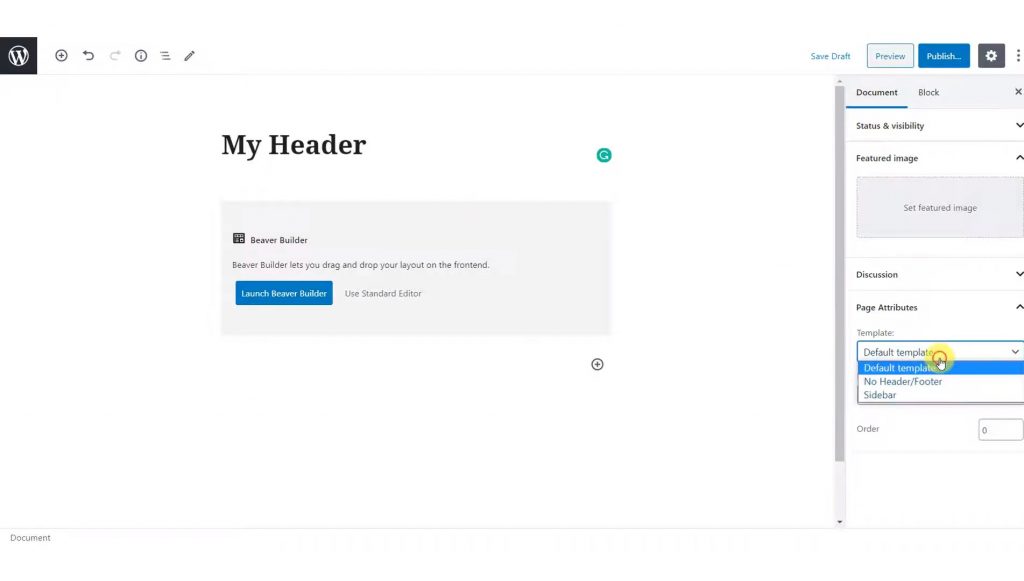
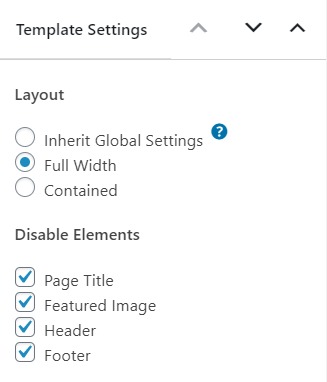
Step 1.2: Now, make sure you set the page as canvas or full page layout. We don’t want any sections like headers or sidebars on this page.
Step 1.3: Once you are done, click on the launch beaver builder button to design your header.
Step 2: Designing the Header
Now the next thing is the fun part. We will be designing the header in this step. You can design your header like the way you want it to look. I will be creating a simple yet good looking header for our tutorial.
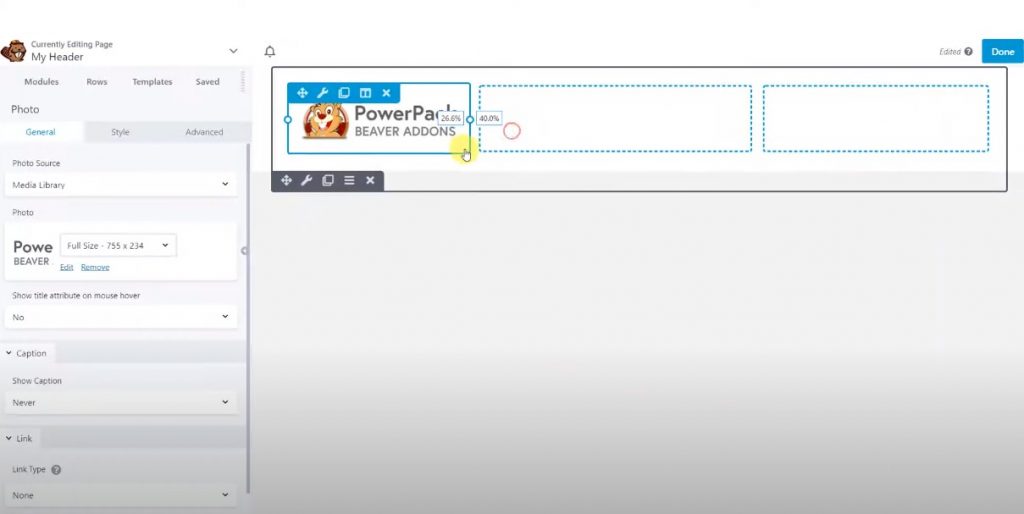
Step 2.1: Add a row to your page. I will be creating a header that will have the site logo, the navigation menu, and the CTA button towards the right. So, for that, I will add a 3 column layout.
Step 2.2: Now, let’s add the site logo on the first column. Drag and drop the image module in the column and select the site’s logo. You can resize the columns if you want.
Step 2.3: For our main menu, we will be using PowerPack’s Advanced menu widget. Drag and drop the widget on the page and select your site’s main menu from the list. You can also adjust the width of the columns if you want.
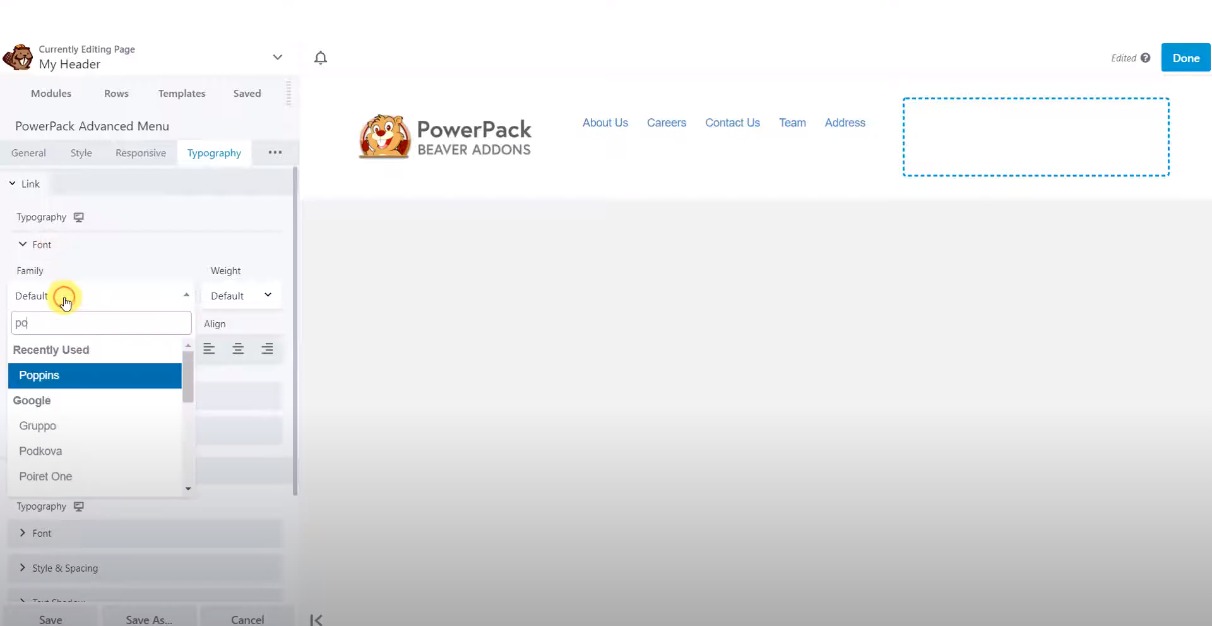
Step 2.4: Now comes the styling of the menu. Go ahead and make the typography changes and the style changes you want to make, so your header looks good.
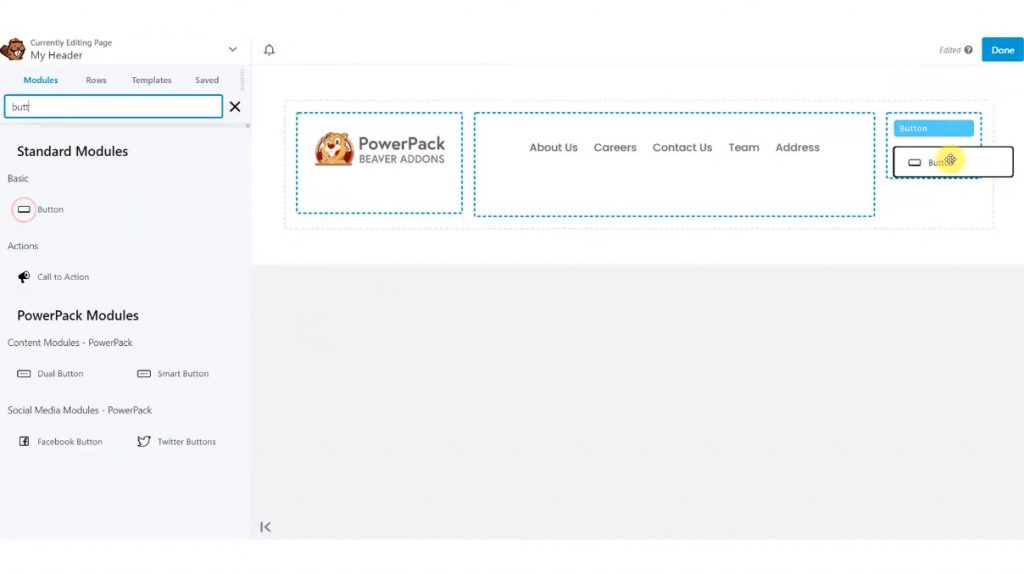
Step 2.5: Now, let’s add the CTA button to complete our header. I will be adding a Download button as my CTA. Add the button widget and change the text, styling, link, design, and other aspects to make the header look better. Once you are done, publish the page.
Now your header should be ready to go.
This is what my header looks like:

Now we just need to set this template as our header.
Step 3: Adding the Header
Now we need to add the header in the Header/Footer settings of PowerPack.
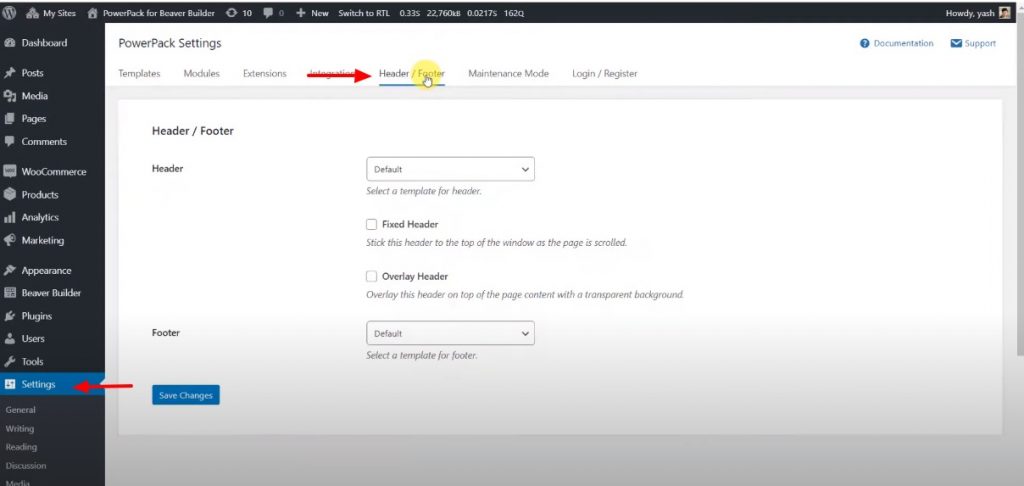
Step 3.1: Go back to the WordPress admin Dashboard and then go to Settings > PowerPack.
Step 3.2: Head over to the Header/Footer tab by clicking on the same tab at the top.
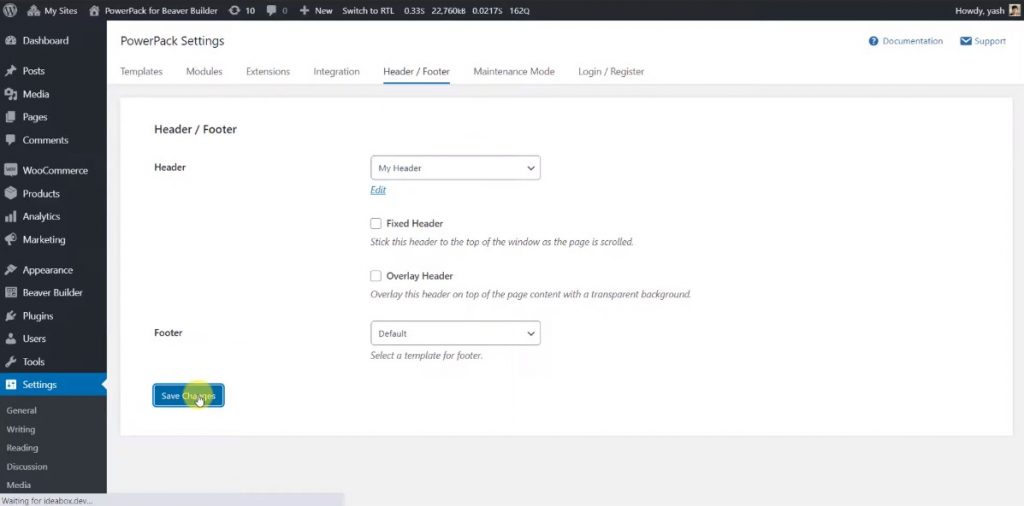
Step 3.3: Here, you will see the Header option. You can simply click on the dropdown and select the page you’ve just published. Click on the Save changes button, and you are good to go.
Your header is now live!
Further, if you want to create a sticky header or want your header to stick to the top of the website, you can enable that using the Fixed header option. Further, if you want your header to shrink when the user starts to scroll, you can enable that too using the shrink header option.
Moreover, if you wish to overlay your header over the content of your pages or the website, you can do that using the overlay header option.
Just click on the checkbox you want to implement and hit the save changes button.
Winding It Up!
I hope you were able to create a custom header layout with Beaver Builder free and the PowerPack add-on with this tutorial’s help.
If you do not have the PowerPack addon for Beaver Builder, you can get it now to speed up your Beaver Builder editing process multiple folds. You get the header/footer builder along with many other amazingly powerful modules and templates. Get PowerPack now!
If you would rather watch a video of the same tutorial, you can check here:
Do let me know what you think of this tutorial in the comments below, and if you found this useful, do share!
A few more interesting posts →

PowerPack Beaver Addons
Start creating beautiful websites with 65+ modules and 350+ templates for Beaver Builder.