How to Create a Custom Header layout with Beaver Themer?
Last updated October 5, 2017 · Yashwardhan Rana

The key to making a good looking website is having perfectly complementing parts including the Header. The header plays a very important role for a website as it is the primary navigation option for the user.
Having your custom-made Header can improve the appearance of your website multiple folds. While the Beaver Builder takes care of the customization of the Content Area, the header can be easily edited with the Beaver Themer Addon Custom Header feature which lets you design the header by simple drag and drop operation.
Let’s understand how you can design your custom header using the Beaver Themer add-on.
Note: Since this an addon to the Beaver Builder, you are going to need both (Beaver Builder and Beaver Themer) to make your custom header.
New to Beaver Themer? Check out our Beginner’s guide for Beaver Themer.
How to Create custom Header with Beaver Themer?
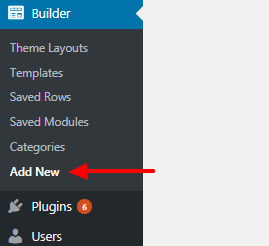
Step 1: Click on the Builder option in the WPadmin and select the Add new button.
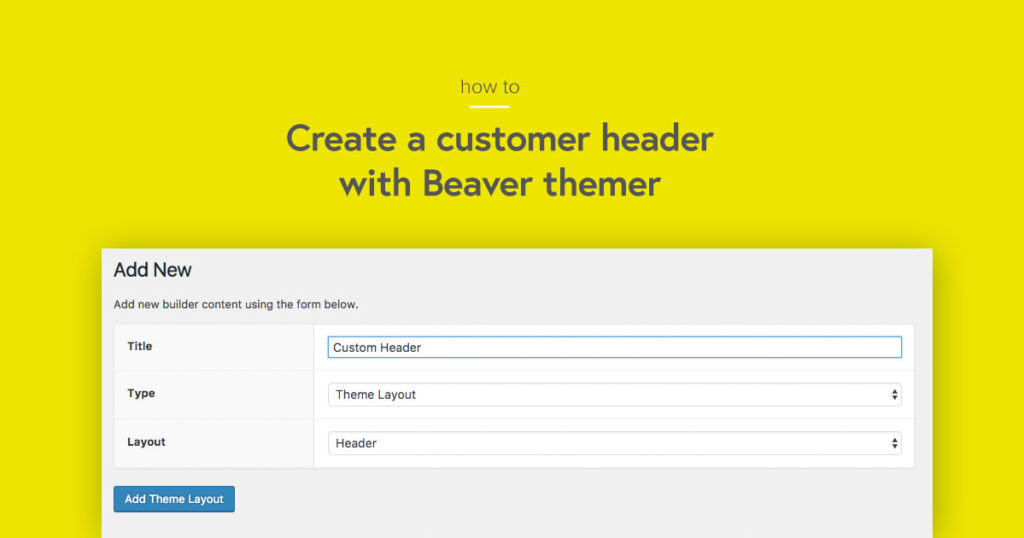
Step 2: Give the Header a proper name.Now, from the Type drop-down, select Theme Layout from the list and select the Header as the Layout. Once you are done, click on the Add Theme Layout Button.
Step 3: Here we will be creating a similar header to our website. So for that, from the options, select sticky header as No and Overlay as No as well. (you can change them depending on your preferences)
Step 4: Since we are making a Header that will work on every page of our website, we will select the Location as Entire Site. Also, we do not want to restrict the header’s appearance; we can simply select the All Users from the Users option.
Once you have done all that, click on the Launch Page Builder Button.
Step 5: Once you click on the button, you will go to the Builder Page, where you can design your Header design details and style.
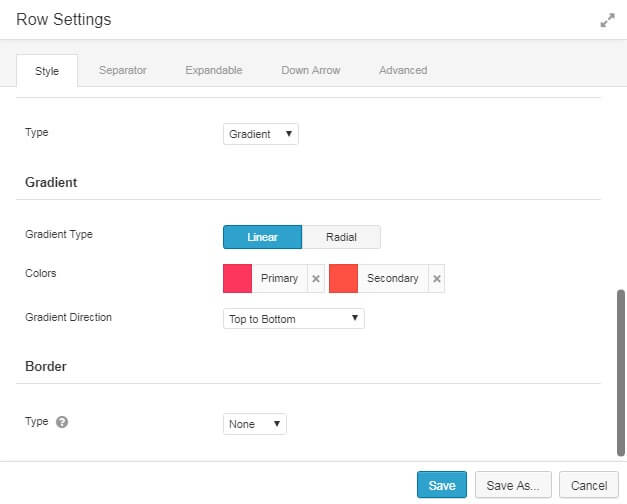
Step 6: Click on the little wrench icon at the corner of the row to enter row settings. Here I made these changes in Row settings.
- Changed the content width to full width.
- Changed the background from color to Gradient.
Step 7: For the logo, I replaced the Title Text module with the Image module and selected the image using the photo module settings. Choose the image and click on save.
Step 8: For the menu, I replaced the existing menu with the PowerPack Advanced Menu module which provides amazing styling options and mobile responsive menu. You can create various types of menu:
- Standard navigation and style it with built-in options.
- Off-canvas menu
- Full-Screen overlay menu
Click here to check the demo of Advanced Menu Module.
Coming back to the topic, I customized the responsiveness for the menu by setting the breakpoint to small devices only and selecting the Left Side Off-canvas. I also customized the style and appearance by going to the Style menu and typography too.
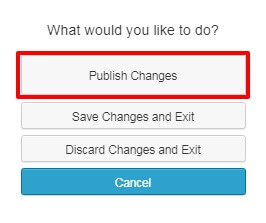
Step 9: Once you are done editing, click on the Done button at the top right corner of the page. Then click on the Publish Changes to make the Header Live.
Once the header is live, it would look something like this.
For Desktop view:
For Responsive view:
Summing it up
There are many different changes that you can make to your header. If you want to disable or edit the same header in future, then you can do it by going to WPAdmin> Builder> Theme Layouts> Header. There you can make all the changes to the functionality as well as the design and display of the Header.
If you have any further doubts, do let me know in the comments down below. I will get back to you as soon as possible 🙂


how can I use the powerpack premade headers? I can’t see them. thank you
Hi Alessandro,
You will need to update the Template Data on your site, please check this link.
You can use the Header/Footer templates with Beaver Themer