How to Create a Coupons Section Using Beaver Builder?
Last updated January 14, 2020 · Yashwardhan Rana
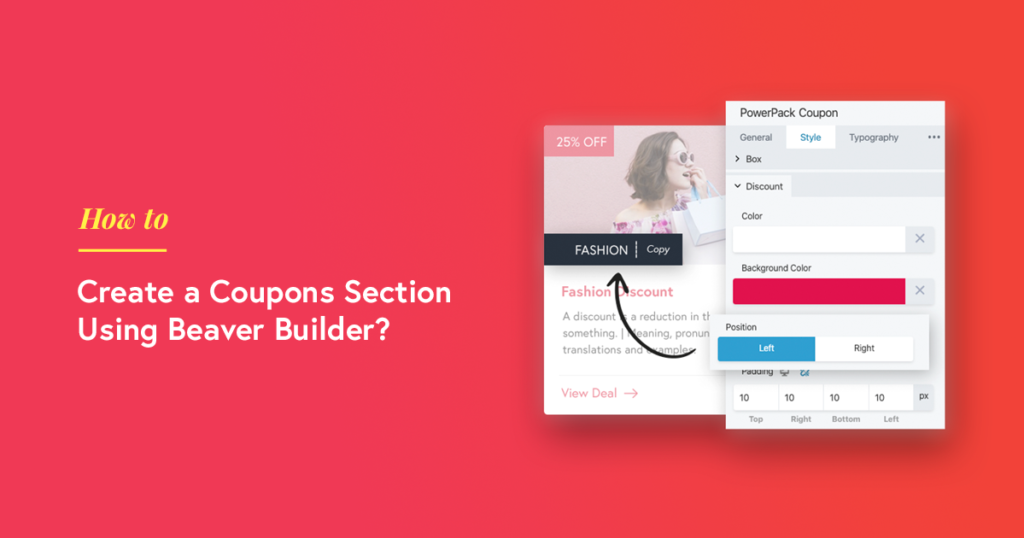
Are you planning on adding a coupon section on your website? Do you want to list coupons of various products on your website built with Beaver Builder? You are on the right page. In this article, we will see how you can create a coupon section or a page on your website using Beaver Builder.
Creating a coupon section on your website with Beaver Builder is made super easy with the help Coupon module of PowerPack addon. This module allows you to create a coupon or a grid of coupons on your website easily without touching a single line of code.
Features of the Coupon Module:
Coupon Styles
With the coupon module, you get three different coupon display styles that you can choose from the dropdown easily.
- Click to Copy
- Click to Reveal & Copy
- No Code Needed
Coupons Customization
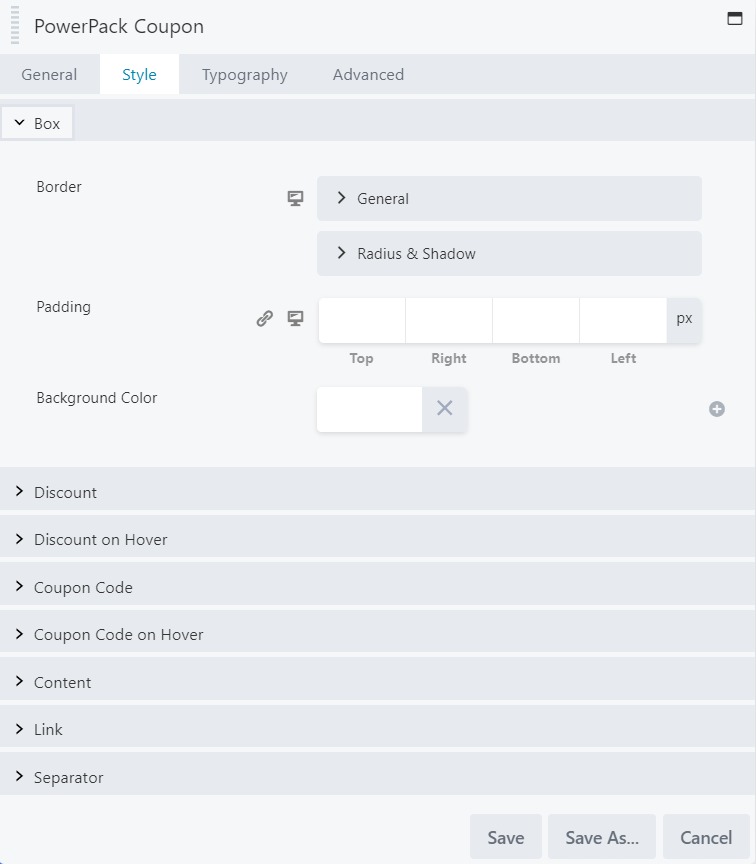
You can customize each section of the coupon module individually and can make them look exactly like you want. There are various customization options in the style tab that allows you to customize the design of the coupon as you wish.
Content Options
You are not restricted in terms of content as well. You can choose an image, enter the details you want, and can change the styling of the button as well. Further, you can make your button look like a link, button, or text.
Let’s see how you can create Coupons section on your website.
Tools we will needs:
Make sure both the plugins are installed & activated on your website.
Creating a Coupons Section with Beaver Builder
Now let’s see the step by step guide on how you can create a Coupons section.
If you would prefer watching a video, you can check it here:
Step 1: Creating a New Page
Just like any other page, we will be creating a new page for our coupons section. If you wish to add the coupons section on an existing page, you can do that too. Simply open the page you want in Beaver builder.
For a new page, go to your WP admin Dashboard > Pages and click on ‘Add New’. Now give your page a proper title and launch the Beaver builder.
Step 2: Creating Grid for Coupons
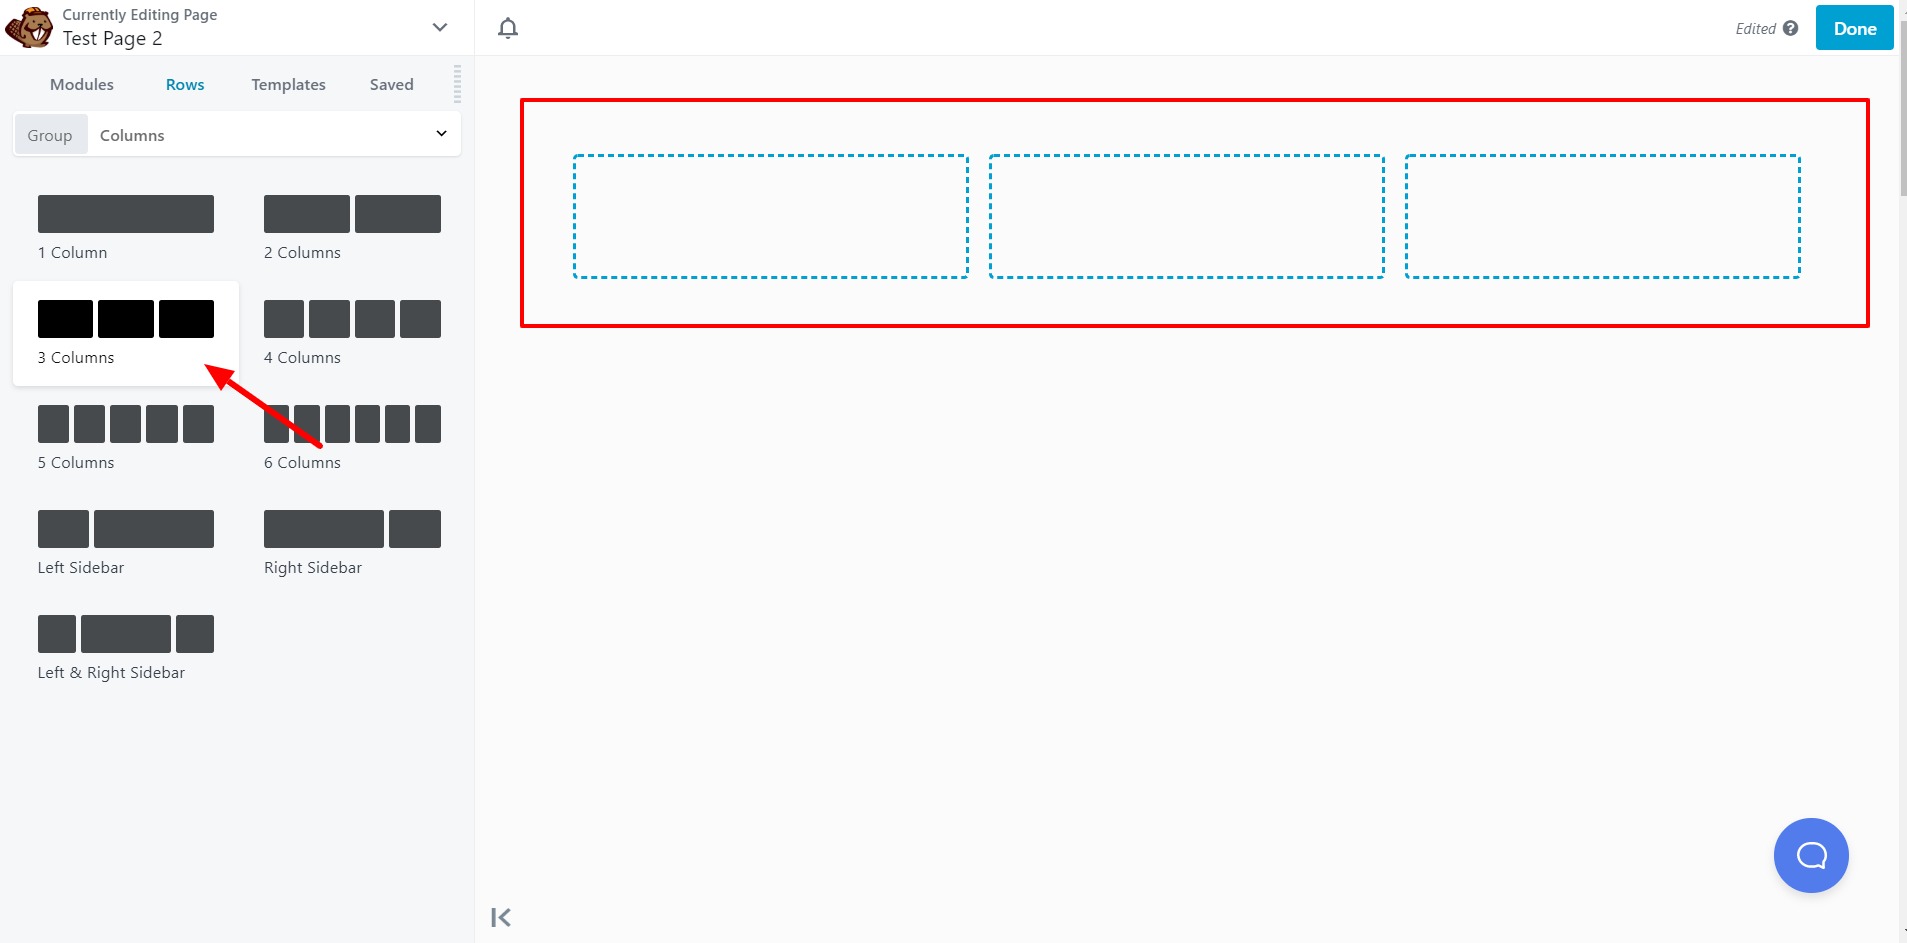
Here in this tutorial, we will be creating the display of 3X2 coupons, and for this, we need to add a 3 column layout on our page. Click on the plus “+” icon at the top and select rows and add the three columns row on the page.
Step 3: Adding the Module on the Page
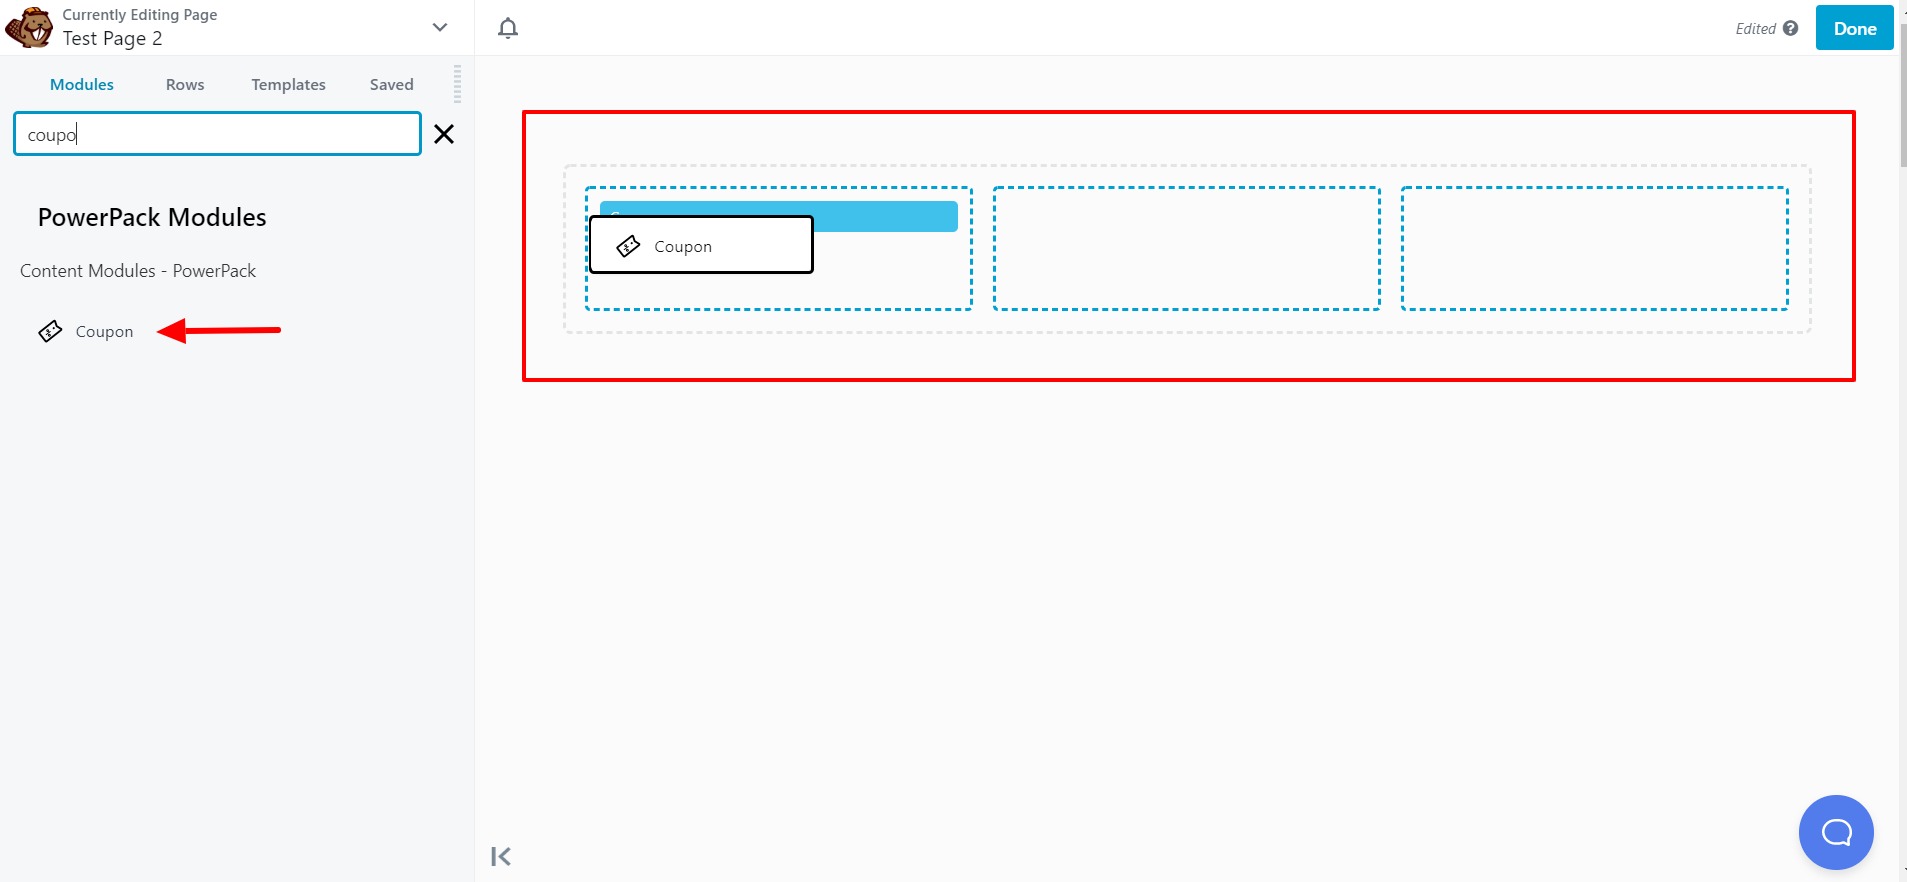
Now we have three column displays on the page; we will be adding the coupons module in the first column. We will customize the coupon in terms of styling and then duplicate it and drag it to other columns. This way, we won’t have to change the styling for each module individually.
Simply go to modules and drag and drop the coupon module in the first column.
Step 4: Changing the Styling first
We will start by changing the styling of the module first. This way, we will copy the module after making the changes, and then the only task that will be left will be changing the content.
For styling, you get loads of options in the Coupon module. You can customize every aspect of your coupon module, like the discount banner, text, image, etc.
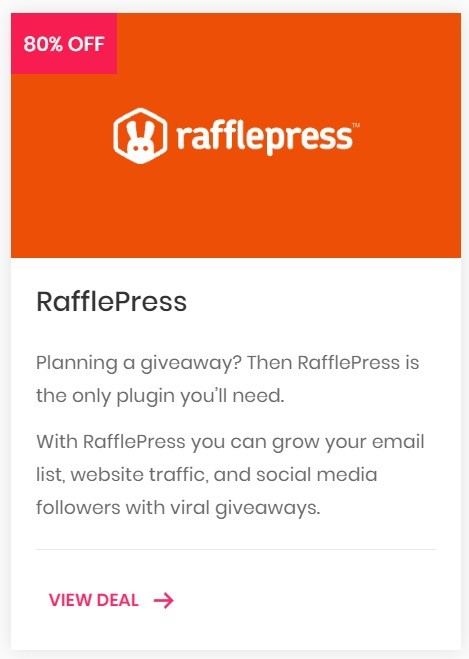
Go ahead and play with the styling and customize the coupon module and make it look like the way you want. For this tutorial, I changed the settings and design, and this is what the end result of the first coupon looks like.
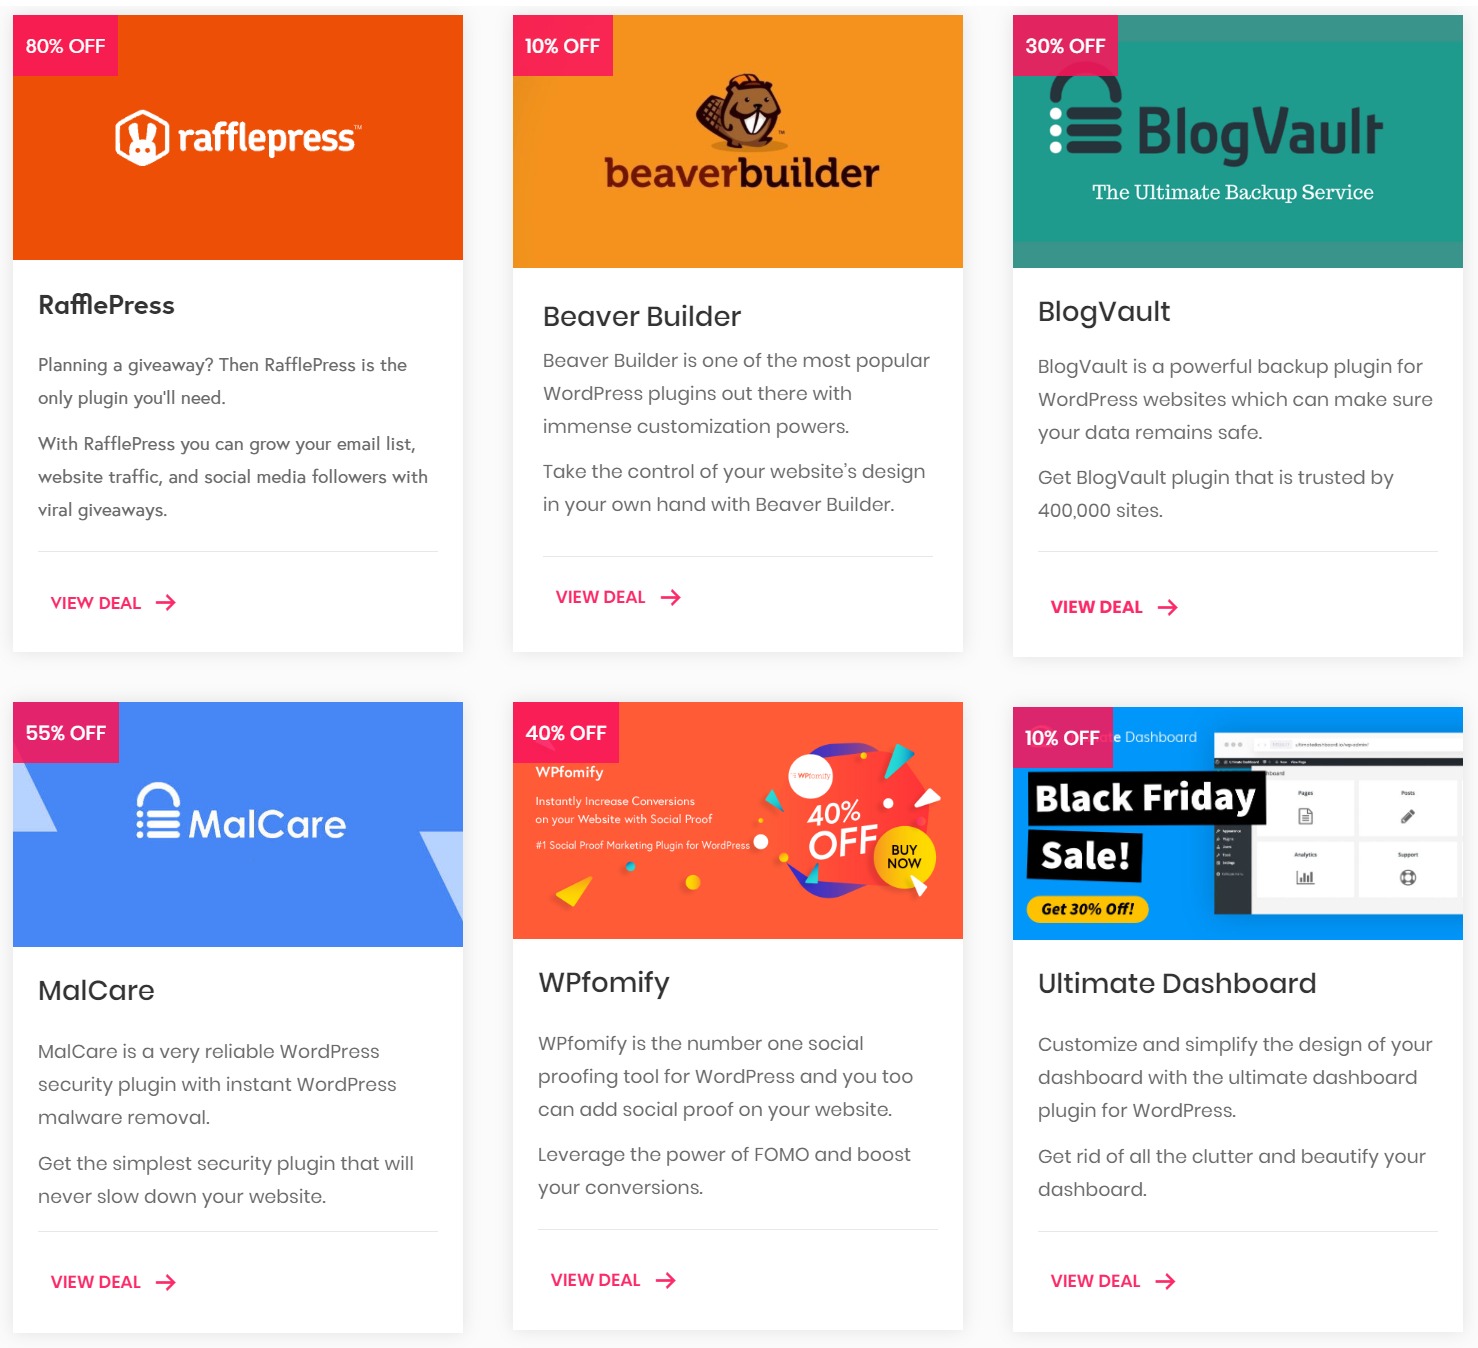
Once you have designed the coupon, go ahead and duplicate it and arrange the coupons in the grid as you want. Here I am creating a 3 X 2 grid.
Step 5: Editing the Content
Now comes the part where you’ll edit the content. Since all the coupons have the same design, we just need to edit the content of the coupons. Go ahead and alter the coupon’s content. This is what the coupon section looks like:
Over To You!
This is just the coupons section; you can use your creativity and add more elements to the coupons page as you like. There are more creative modules that come with the PowerPack addon for Beaver Builder. Check out these modules and give them a try yourself!
Let us know what do you think of the coupon module and the coupon section. If you liked this article, do share it!


Wow, you are a live safer. I have been searching for tutorials on how to create a coupon section on my blog and I found your article. It is exactly what I was looking for. It was very helpful.
Would it be possible to have a Coupon custom post type with fields for coupon image, name, price etc. and then have that cpt feed into a Coupons page and using this module output those posts as coupons?